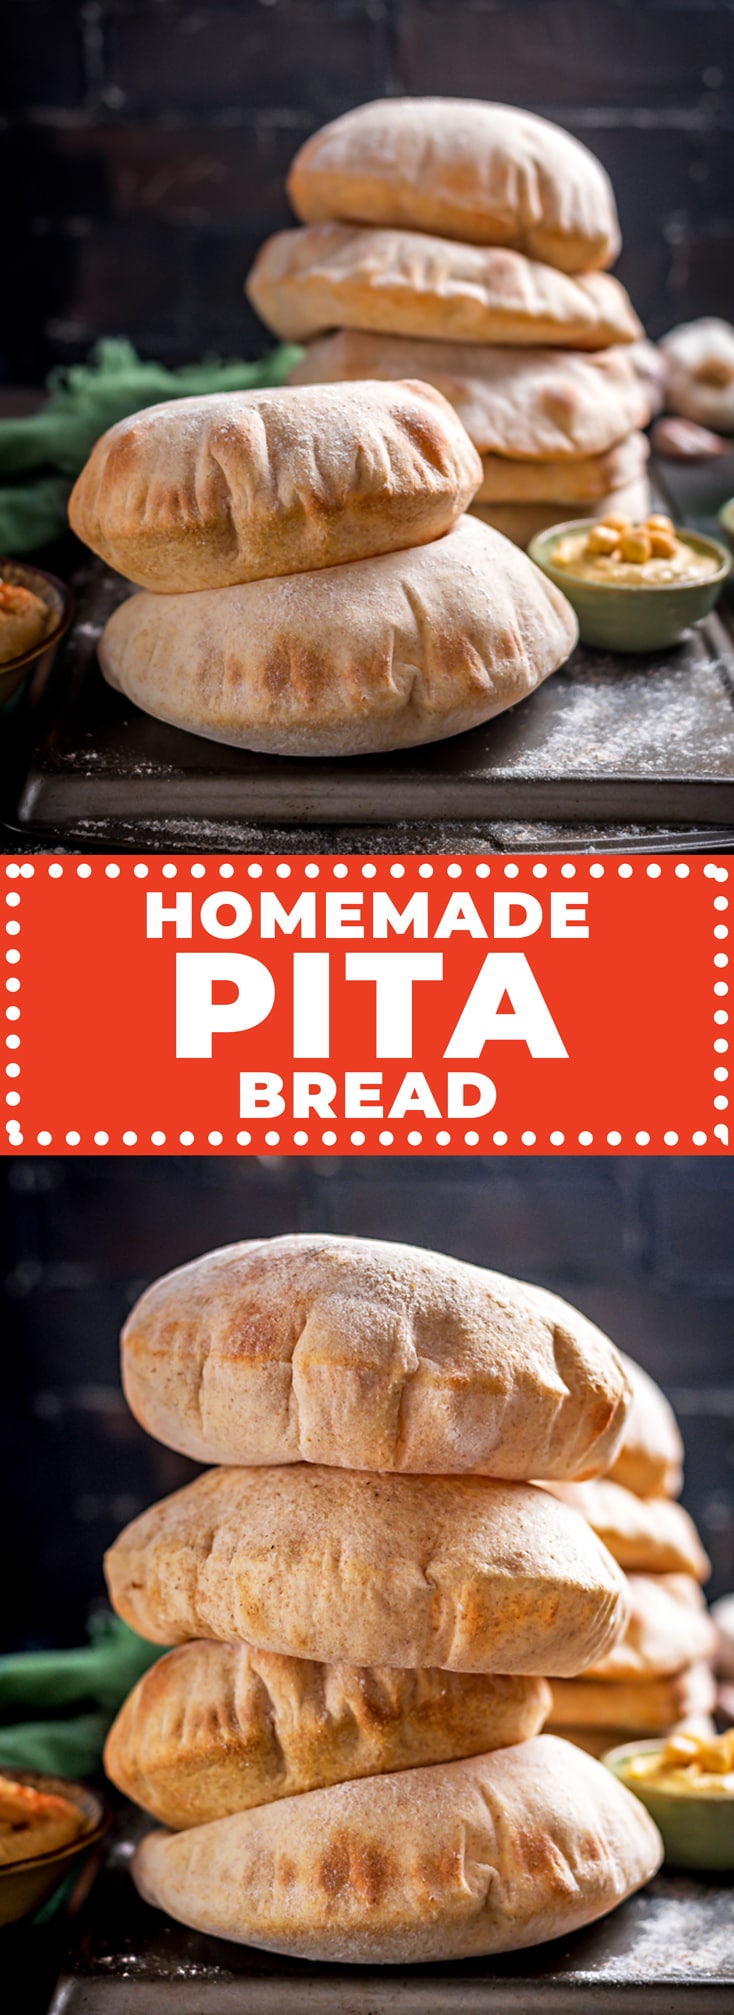
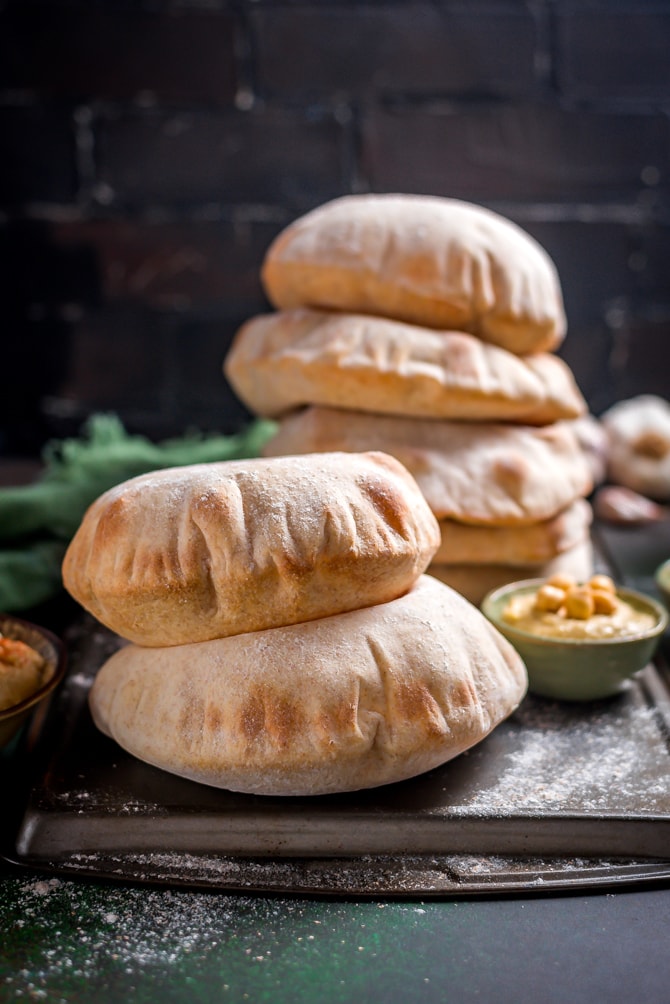
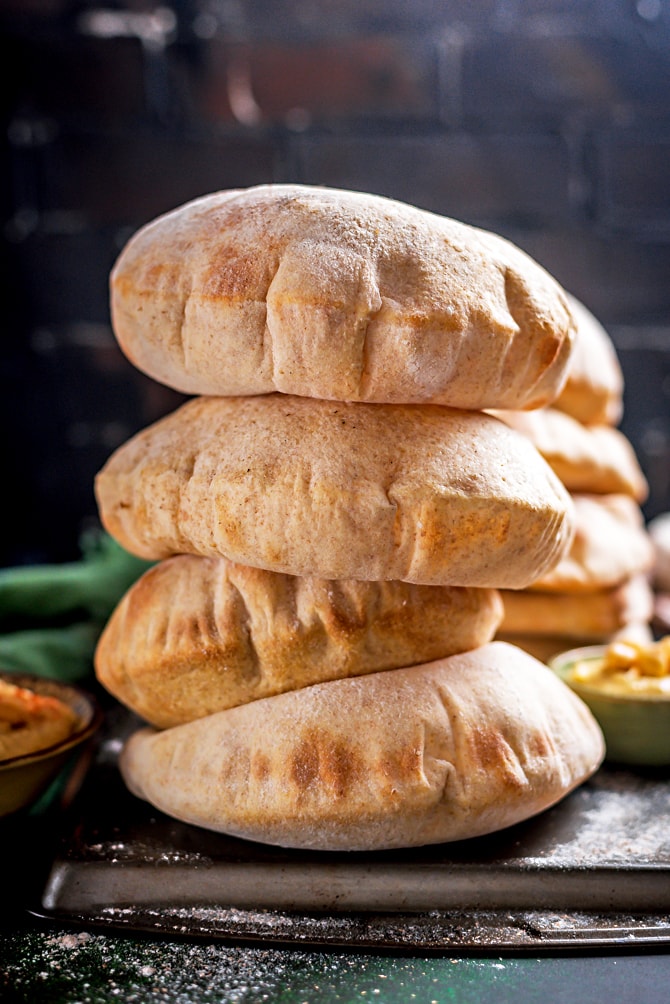
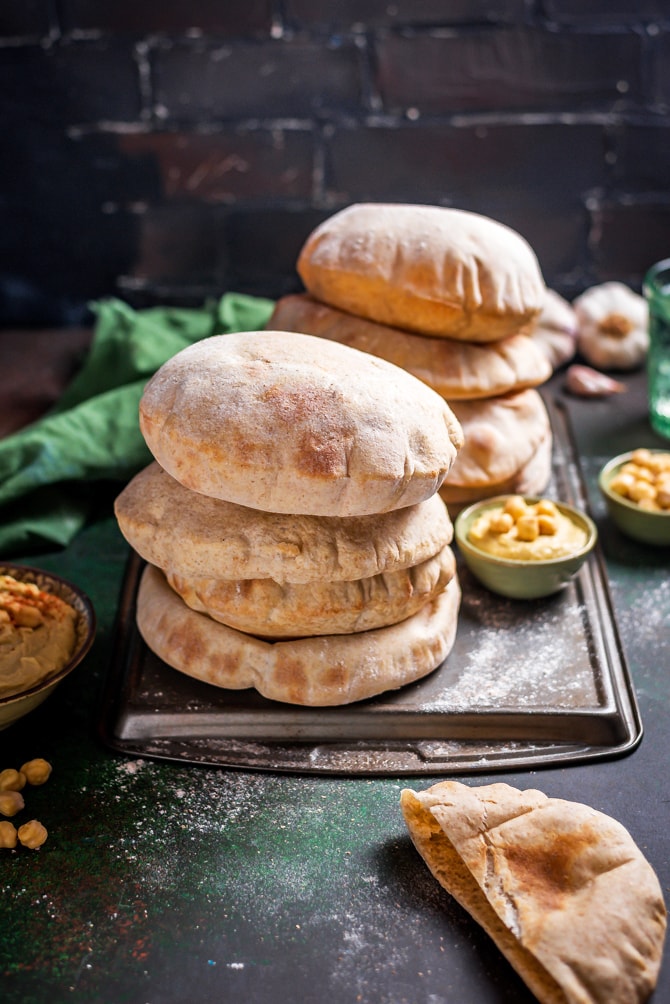
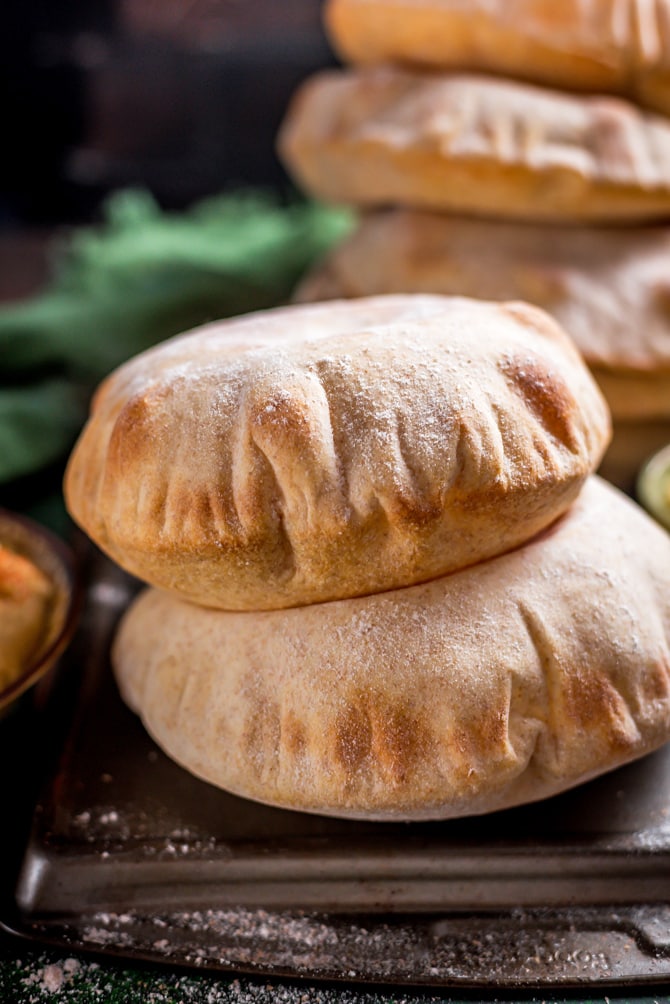
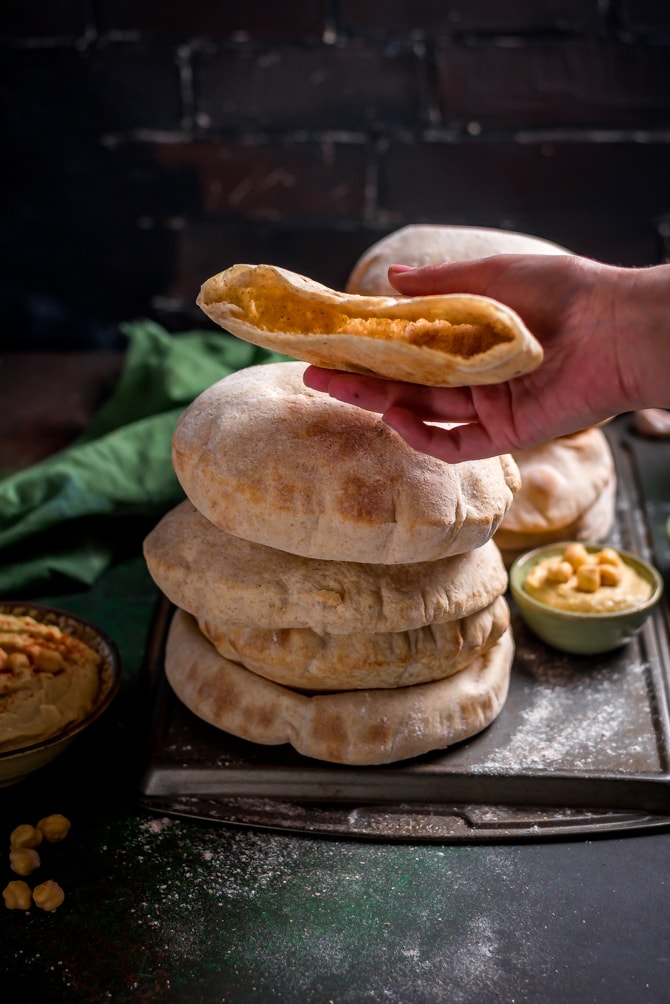
If warm, fluffy, poofed, and perfectly-pocketed pitas are what you're looking for, it doesn't get better than this recipe for Homemade Pita Bread. They're surprisingly simple to make and leagues better than the store-bought stuff!
Before stumbling upon my first go-to pita recipe, I'd already been dreaming about making it for years. There's just something about the warm and steamy pita you get fresh from the oven at Greek restaurants that makes you want to grab your apron and do away with the store-bought versions forever. I'd always assumed, though, that Homemade Pita Bread was not a venture for the inexperienced breadmaker. And I was most definitely inexperienced.
Still, I eventually decided to battle my way through my first batch, and much to my surprise, it wasn't much of a battle at all.
I shared that recipe here-- the one I used for my first batch and continued to use for years-- back in 2015. It was a good, trusty recipe, and if you're here because you used to make it, you can probably attest to that. However, over time, I began to think that I could do a little better. Maybe I could make them just slightly easier to prepare. Slightly more tender. Slightly fluffier. Maybe I could give them that edge of nuttiness that the best pita tends to have.
And so, at the beginning of the summer, I decided that it would be a great time to start experimenting again to make the best Homemade Pita Bread. A few months of heating my house up with my oven set to nearly 500 degrees and (literal) hundreds of pitas later, I can confidently say that I've finally got it figured out.
Not going to lie, it was an uncomfortably sweaty and not very diet-friendly experience, but I'm used to that by now. At least it was worth it.
HOMEMADE IS BETTER. ESPECIALLY HOMEMADE PITA.
Some breads are fine to buy at the supermarket, but pita-- which is pretty much never baked in-store-- isn't one of them. Fresh pita is fluffier, more tender, more flavorful, and just-plain-better than store-bought. In fact, after making your own pita, you'll begin to realize just how stale store-bought pita tends to taste! With fresh pita on hand, you'll find yourself swapping them as your new favorite base for everything from sandwiches to pizza to garlicky feta dip.
Luckily for all of us, you don’t have to be a natural baker to nail a perfect pita. All you need is 2 hours, 6 ingredients, and a little confidence, making this recipe a no-brainer for first-time breadmakers. So do yourself a favor and ditch the store-bought hockey pucks. Once you try them, you’ll never go back!
PITA MYTHS DEBUNKED
Or should I say...deflated? Dad jokes aside, it’s easy to assume that pita-making is some sort of mystical art, full of secrets we mere mortals aren’t privy to. Easy, but so, so wrong.
As a friend, I’m here to tell you not to believe the hype, lest you deprive yourself of one of life’s greatest joys - a warm, fluffy pita fresh from the oven.
“But It’s So Much Work!” Or is it? As I mentioned above, before making my first batch, I was prepared for all kinds of pita pitfalls. Extensive kneading, the pocket never popping, finding out I needed some fancy equipment. All myths! It was the easiest dough-based dish I’ve ever made, and despite never making pita before, I got it right on the first try. You can too!
“I Still Don’t Have the Time.” That’s the beauty of pita. While this recipe technically takes an hour and forty minutes, more than half of that time is hands-off waiting for the dough to rise. Prepare the rest of dinner, get some cleaning done, or just kick back with a podcast. If 2 hours still seems long, think of it as a one-time investment. Because the dough is freezer-friendly, you can double or triple the recipe and have no-prep pita for weeks. (More on that later.)
“Working with Yeast is Scary.” You’ll just have to trust me on this one. You’ll be fine as long as you remember the three cardinal rules of working with yeast:
- Check the expiration date. Yeast is a living organism, and like the rest of us, it doesn’t live forever. (Sorry to get all existential on you there.)
- Add a little sugar; watch for the bubbles so you’ll know your yeast is active.
- Finally, use warm but not boiling water. If your liquid is too hot, it will kill the yeast.
If you do have a mishap, don’t get frustrated. Yeast is cheap and easy to find, so take a breath and the second time’s the charm.
“What if It’s Ugly?” Okay, now we’re running out of excuses. If you can get your pitas to be perfectly round, more power to you. But personally, I don’t mind a slightly uneven edge. It gives them a bit of “homemade” character, and your family and friends will be too busy stuffing their faces to care! That being said, it's really surprisingly easy to make a pretty pita. You'll probably surprise yourself.
Got it? Good. Now let’s get started.
HACKS FOR THE BEST HOMEMADE PITA BREAD
The simpler a recipe is, the more I become obsessed with fine-tuning it and making sure it’s the absolute best it can be. Pita has no strong flavors, no fancy plating to hide behind, so the difference in quality comes down to a small tweaks that go a long way:
- Use Two Flours: Wheat flour has slightly nutty flavor that brings a delicious complexity to your dough; unfortunately an all-wheat pita won’t create enough gluten to stretch and form a pocket. The solution? A mix of bread flour-- which is high in protein and encourages gluten development-- and wheat flour brings the perfect balance of flavor and elasticity.
- The Right Tool for the Job: In a perfect world, Chef Michael Solomonov of Philadelphia's Zahav restaurant recommends using a pizza stone to bake your pita. But if we’re being honest, most home cooks don’t have one floating around the kitchen. If that’s the case, he suggests a plain old baking sheet flipped upside down.
- Fire Up the Oven: I’m writing this post on a 90-degree day, so I’d understand if you didn’t want to heat up your house. But if you can, you should. Pitas will cook up just fine on the grill or in a pan, but you’ll get a much better puff in the oven. Trust.
- Roll It Thin: Rolling the dough no more than ¼ inch thick will ensure that the heat from your oven can quickly penetrate to the center of the dough, creating a blast of steam that expands the pocket. If your dough is too thick, the heat of the oven won't reach the center until after the rest has firmed up.
- Flip the Dough: When you go to slap a pita dough onto the preheated baking sheet or pizza stone, make sure you flip it over so that the side that had been facing up as you rolled the dough out is now facing down, touching the hot surface. This will prevent the pocket from being overly thick on one side and thin on the other.
- Be Gentle: Tears in your pita will allow steam to leak out slowly, meaning it won't expand to form the pocket you've been dreaming about.
- Don’t Overcook: Because we’re baking thin dough at such high heat, leaving pitas in the oven too long will cause them to dry out quickly. Rule of thumb? As soon as you see them fully puff up, give it thirty seconds and then it’s time to pull the pita from the baking sheet. Use tongs, they'll be hot!
MAKE THEM AHEAD OF TIME
Fun fact: many store-bought pitas have already been frozen and thawed without you ever knowing. Pitas are doubly freezer-friendly because you can store the dough raw or cooked. I particularly like keeping some around to give leftovers an easy weeknight makeover or whip up a pita pizza on-the-fly.
If you’re intentionally prepping extra dough to have on hand, freeze it after it has risen like you would with pizza dough. If you’ve already baked your pitas and end up with leftovers, just store the cooked rounds in freezer bags and thaw them on the countertop before reheating in the oven.
Either method of freezing homemade pita bread will give you an infinitely fresher taste and texture than the grocery store imitators.
RECIPES TO PAIR WITH YOUR PITA
- Mezze Party Platter
- Easy Greek Tzatziki Chicken Salad
- Garlicky Feta Dip
- Whipped Feta Tzatziki Hummus
- Michael Solomonov’s Perfect Hummus Tehina
- Baba Ghanoush (Roasted Eggplant Dip)
Homemade Pita Bread
- Total Time: 1 hour 40 minutes
- Yield: 8 pita breads 1x
Ingredients
- 2 ½ teaspoons active dry yeast
- 2 teaspoons sugar
- 3 cups bread flour
- 1 cup whole wheat flour
- 1 ½ teaspoons kosher salt
- 2 tablespoons olive oil
Instructions
- Mix together 1 cup warm water, the yeast, and the sugar in a small bowl and let stand until foamy, about 5 minutes.
- Combine the bread flour, whole wheat flour, and salt in the bowl of a stand mixer fitted with the dough hook or a large mixing bowl. Mix using the stand mixer or a wooden spoon until blended. Add the yeast mixture and the oil and mix until the dough forms a ball that pulls clear of the sides and bottom of the bowl, adding additional water a tablespoon at a time, if necessary. The dough should feel tacky when slapped with a clean hand, but it should not stick. If it sticks, add more flour, a tablespoon at a time.
- Cover the dough with plastic wrap and let rise at room temperature until doubled in size, about an hour. Alternatively, let it rise in the refrigerator overnight.
- Preheat the oven to 475°F. Place a baking stone or an inverted baking sheet in the oven to preheat as well.
- Divide the dough into 8 pieces and roll into balls the size of baseballs. Cover with a damp cloth and let rise until they are about the size of softballs.
- Roll each dough ball to about ¼" thickness with a floured rolling pin on a floured work surface. Cover with a damp cloth and let them sit for about 5 minutes. Flip one or two at a time onto the baking stone or baking sheet (so that the side that was previously facing up when you rolled the dough out is now facing down) and bake until puffed and cooked through, about 3 minutes. Remove with tongs and cover with a cloth to keep warm. Repeat with remaining pita rounds until all baked. Serve warm, or store in a sealable plastic bag.
- Prep Time: 1 hour 20 mins
- Cook Time: 20 mins



Becca @ Amuse Your Bouche says
Those are some puffy looking pittas! Perfect for stuffing, I love a pitta 🙂
Patty at Spoonabilities says
I've never tried making homemade pita bread! These look so perfect!
kim says
I've never tried making pitas! You make it look so easy and delicious... definitely going to give this a try!
Emily says
I love how puffy and perfect these pita breads turn out!! So good!
Eden | Sweet Tea and Thyme says
These pitas look amazing! Love how puffy they came out!
Jan says
Delicious and fun to make. As I was forming the dough balls and baking them I found the pitas to be too big - baseball to softball-sized rolled out to be about 8-9” across. Halving the remainder yielded a more traditional size pita.
Caroline says
I am excited to try these! Could you please post the weight section of the flours though? I'm never sure if recipes are packed flour or loose flour in th cups, and it can make such a big difference!
Janet Levy says
I’ve been experimenting with pita bread recipes for falafel. One was too heavy; another pocketed unevenly.
These look gorgeous and will definitely be my next pita project.
Can you supply the correct flour weights?
Thanks!
Claire-Line Aecherli says
Wonderful, delicious, and I got such congratulations!
Eva says
I followed the recipe exactly and they turned out Perfect! I’m definitely sharing and saving this recipe. Thank you!
Cristina says
I think I overcooked my pitas. They puffed a little and looked very white so I put 2 more minutes (total 5 min). The pitas were hard even after I placed each one of them wrapped in a clean cloth. Now I put 4 int the freezer and left 2 1/2 in a ziploc at room temperature. Can you tell me how I can soften them? Is it even possible? After all that work I just want them to be edible and not wasted. Thanks in advance.
Morgan says
Hi Cristina! I'm sorry to hear that-- yeah, it sounds like they were a bit overcooked. I'd try wrapping the bread in a damp (not soaking) towel, and then placing on a microwave-safe dish and microwaving on high for 10 seconds. I hope that helps!!
Betty says
I’ve made pitas a few times before this and they turned out fine. Not sure what I did wrong, but the dough was so dry. I had to add another 3/4 of a cup of water for it to even resemble pita dough I’ve made in the past. Had to throw the dough away.
Morgan says
I'm so sorry to hear that, Betty. I've never had that problem myself with this recipe but a lot of factors can influence how wet or dry dough is, which is why in the recipe and post I talk about possibly needing to add more water or flour. However, 3/4 cup is more than I would anticipate, so let's try to figure this out to prevent any problems in the future! Do you scoop your flour into your measuring cup or spoon it in? Perhaps it was too densely packed? Do you live in a particularly dry part of the country? I hope we can determine what went wrong here!
Also if you don't mind me asking, why did you throw the dough away after adding the water?
Michelle says
Mine was the same way, I've added so much water. Usually in a bread recipe I don't spoon and level, I just scoop because they are often approximate measurements. Do you spoon and level? I should have trusted my instinct that 1 cup of water would not be enough for 4 cups of flour. It is easier to work in more flour than to work in more water. Hopefully it'll get there though, it's still mixing.
Michelle says
Just wanted to add that they turned out great!
christina says
when using flour a general rule is to fluff up the flour and spoon into measuring cup not scoop it packs it too heavy and makes for tough dough, unless your recipe explicitly says "packed" just assume it's standard scoop and measure can always sprinkle on a bit of flour as needed or add a bit more water but it can't be undone also just scrape across measuring cup to level hope this helps
Janet Levy says
This is my favorite pita recipe and I’ve tried quite a few! These pitas are not overly “bready” and the pockets are substantial.
However, the last time I made them, I had a slight problem. The pitas separated in several spots at the edges making for a bit of a drippy mess when I added my falafel mix-ins.
Any ideas on why this happened and suggestions for a better product next time?
Sarah Segev says
Love the addition of the whole wheat. Used 2-1/4 tsp regular salt. Pitas were delicious. If compared to Zahav's recipe, which was a pain to work with (although easier cuz made in the food processor), this one needs at least another 1/4 c of water in order to be sticky. "Hadia", a Lebanese cook, posts a video and her dough is also wetter than the one here. Will continue experimenting, but will definitely be keeping the whole wheat!
Maxine says
Cup sizes can vary depending on where you live. Some are metric in size ( eg UK , Australia, New Zealand) others measure in imperial (eg USA). The difference between them over 4 cups is 120gms.
Terri says
Great recipe! It's proofing now and I can't wait to shape and get to baking them. 🙂
I did have a slight issue with the ratio of flour to water being a bit too dry; so I added another 1/2 cup of water and tried to mix it all in. It was slightly too dense and dry to accept the extra water, so I called upon my bread baking experience and let the mixture just sit for about 30 minutes to let the flour soak it all in. Et voila! It mixed in perfectly! Looking forward to reporting the rest of my experience with your recipe... thank you for your efforts to bring this post to us.
Terri says
Finished product came out well. My timing was off on baking. My family was pushing me to get dinner on the table and really really REALLY wanted the pitas. So I skipped proofing a final time after rolling them flat. I also had my oven at 500*F and cooked them for 2 min each side. Brushed them lightly with olive oil as soon as they came out of the oven and sprinkled a little sea salt over them. Delicious! Thank you again for this blog. So helpful.