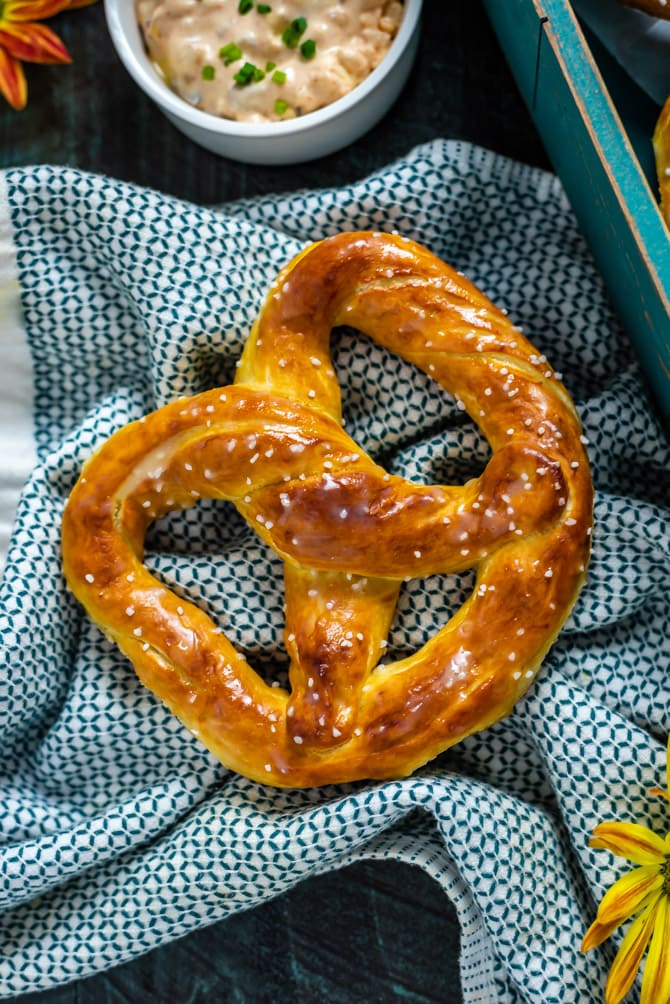
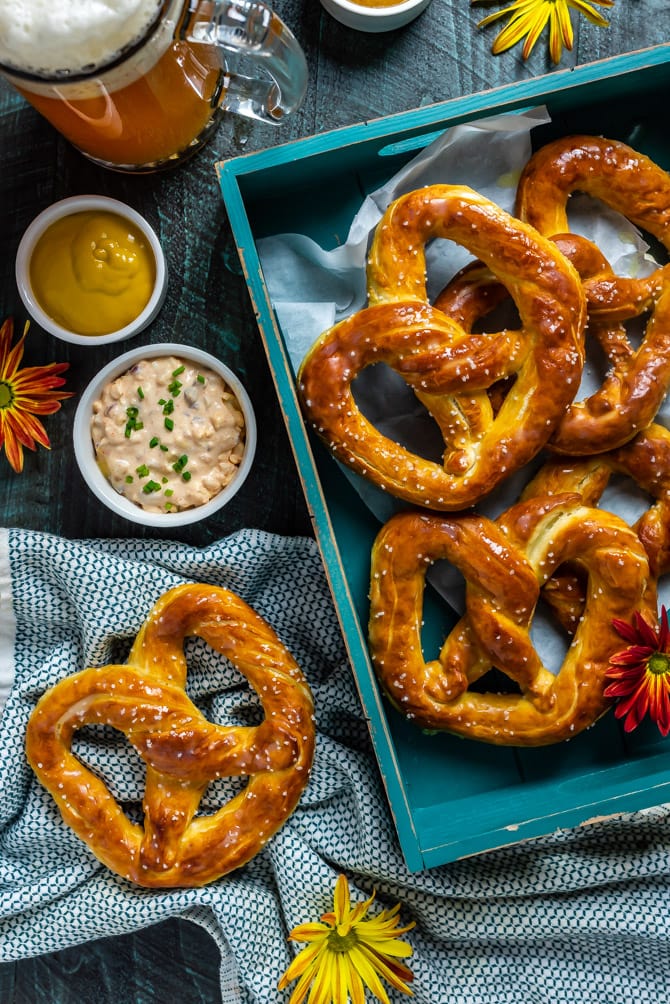
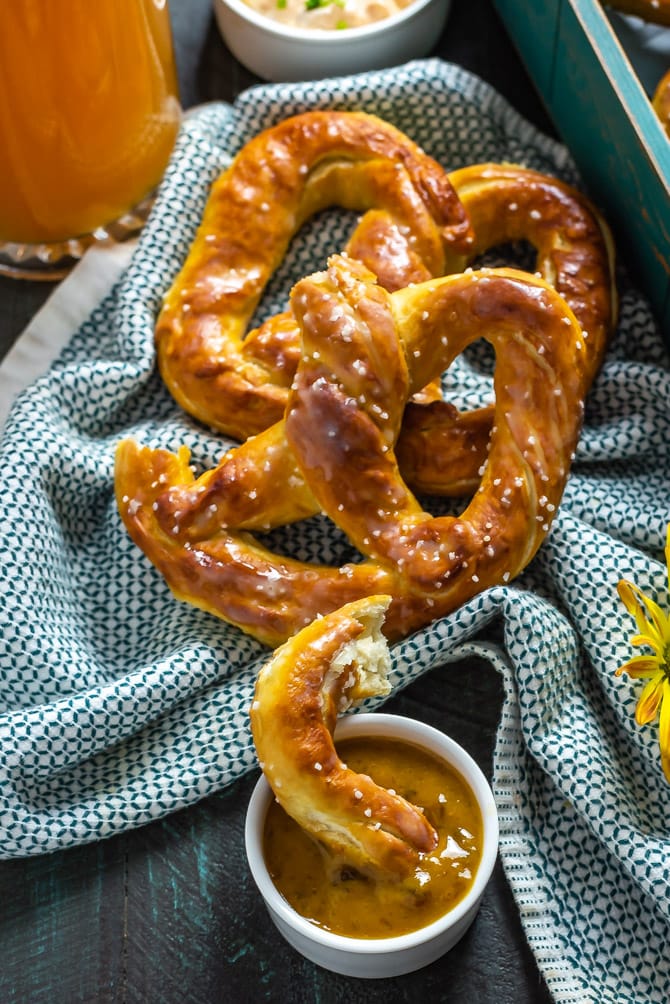
If buttery, mall-style soft pretzels are your ultimate snack, look no further than this recipe. You'll find all the secrets to the perfect golden-brown, butter-brushed, homemade soft pretzels right here! It's easier than you think, and there's even a how-to video to help you along.
There must come a time in every food blogger's career when she realizes she's overlooked posting a recipe that is so obviously meant to be shared, it hurts.
For most, I imagine, it's a recipe passed down for generations, or the first meal they ever cooked to impress their now-spouse, or their laboriously perfected Christmas cookie, or something equally emotional. For me, it's Homemade Mall-Style Soft Pretzels.
I've spent roughly six years here pretzelfying recipes at every opportunity, whether it be making Pretzel Rolls or a Pull-Apart Pretzel Skillet or Pretzel-Wrapped Jalapeno Poppers -- just to list a few examples. I've been rambling on about my years at Auntie Anne's like they were my glory days (okay, they really might have been). I've proclaimed to anyone who'll listen that pretzels are, without a doubt, my favorite food. But I've never shared my actual go-to pretzel recipe until now.
IS THIS THE AUNTIE ANNE'S SOFT PRETZEL RECIPE?
I could write a book about my 7 years spent working at Auntie Anne's, but let's be honest, it wouldn't be a best-seller. So I'll spare you the snooze-fest and cut to the chase: I made a lot of pretzels. I ate a lot of pretzels. And I definitely learned a lot about making pretzels.
What I did not learn is the exact recipe for Auntie Anne's pretzels. The flour mixture used to make the dough is pre-mixed, so while I made literal thousands of batches of fresh dough, I never made it entirely from scratch.
So no, this is not the recipe. However, after lots of tweaking in the years since working there, I think I've figured out a pretty spot-on copycat version. These Homemade Mall-Style Soft Pretzels are really as close as it gets.
DON'T BE AFRAID OF THE DOUGH.
A lot of people are weirded out about working with dough-- and for some reason, about working with yeast specifically. But I'm here to tell you that if 15-year-old Morgan could manage it at Auntie Anne's, you can do it too. I promise.
Dough is very, very easy to make. Here's all you need to do:
- Activate your yeast. To do this, we use warm (not too hot!) water. Specifically, it should be between 105 and 110°F. We then add sugar, which serves as food for the yeast and increases it's activity. Then, we pour the yeast in and stir gently (if necessary) to help it dissolve. After about 5 minutes, it should be foamy. This means the yeast is alive, working, and ready to go. If it does not foam up, odds are your yeast is expired or otherwise "not good", and you should try again before moving on.
- Add the salt and melted butter. These things make your dough taste good and help with consistency. Mix them in with the yeasted water before you continue.
- Mix in flour, a bit at a time. You want to add the flour bit by bit so that it doesn't clump up or explode out in a cloud of white powder as you stir. Eventually, you'll notice that you've got a dough forming.
- Knead the dough until smooth. Once the dough starts to form, you won't be able to mix it with a spoon much longer. Get that dough out and work it together with your hands until it's not shaggy anymore. Alternatively, you can do this all in a stand mixer, if you have one!
- Let it rise. Place the dough back into an oiled bowl, lightly cover it, and let it rise in a warm place until it's doubled in size. That should take about an hour.
And yup, that's all you have to do to make your dough. I told you it was easy!
CAN I MAKE MY DOUGH AHEAD OF TIME?
A lot of people ask me if they can make their dough ahead, and the answer is yes. You can prepare the dough and then place it in the refrigerator to rise overnight instead of letting it rise in a warm place for an hour. The cold of the refrigerator will slow down the reaction of the yeast, so it won't over-rise while you sleep!
That being said, it's best to make this dough as written (and let it rise for an hour) for best possible results.
WOULD I LYE TO YOU?
Most pretzels in the world are made with lye, which gives pretzels their chewy, brown crust. However, mall-style pretzels are not. The main reason for this is that lye can be a bit dangerous for people who aren't careful to handle. 15-year-old Morgan would have definitely fallen into the "not careful" category back when she worked at Auntie Anne's.
Remember the chemical burn scene from Fight Club? The one where Tyler Durden burns the narrator's hand with lye? Yeah, lye doesn't really work like that-- at least not food grade lye-- but it's still not something to mess around with. But luckily, there is a solution. Literally, a solution made of baking soda and water!
Like lye, baking soda is very basic. As in alkaline, not "that's what the kids are saying these days" basic. The alkalinity of the baking soda solution allows the exterior of the pretzel to brown at a significantly faster rate, giving it that signature crust and flavor. It's integral to a good pretzel.
However, I've found that baking soda, which maxes out at about 9.5 on the pH scale, is still far less effective in browning than lye, which can reach the highest rating of 14. In order to bridge that gap a little, I first bake my baking soda, which makes it stronger and closer to lye (but still safer and more accessible)!
You can skip that step and just use regular baking soda, but I recommend going the one step further to bake it first. You can bake it while your dough rises, so you're not making the process longer, just using your time as efficiently as possible!
BY THE WAY-- THERE'S NO BOILING NECESSARY
While you want to use hot water here, you don't have to drop your pretzels into a pot of boiling water to get that golden brown crust. All you have to do is dissolve your baked baking soda in warm water and then quickly dip your pretzels into the water before transferring them to a tray.
This version of the baking soda bath prevents them from disintegrating or falling apart in the pot, and keeps things moving along much more quickly!
HOW TO SHAPE PRETZELS
I mastered the pretzel twirl when I worked at Auntie Anne's, but you can still shape yours without all the experience. If you can't do the twirl, instead start off by making a U-shape, then crossing the ends, and finally twisting them as you bring them back down to the bottom of the "U". I know, that's a little hard to follow. But not to worry, there's a video right above the recipe below that will help make it clear!
And if you want to skip the whole pretzel-shaping business, feel free to simply make pretzel sticks or pretzel bites. They'll taste just as delicious.
WORTH THE WAIT
This is not an ultra-quick soft pretzel recipe. Making the dough from scratch, letting it rise, baking the baking soda, creating the solution, cutting into equal pieces, shaping and dipping the pretzels, sprinkling with pretzel salt, baking... it all takes time, I won't sugarcoat it.*
That being said, despite the time commitment, each step is actually surprisingly simple. In the end these Homemade Mall-Style Soft Pretzels are so tasty and such a crowd-pleaser that you'll find they're well worth it.
And I'm pretty sure you'll be willing to forgive me for me holding out on you so long with this recipe. I think it'll just take a few more homemade pretzels for me to forgive myself!
*Speaking of sugarcoating, you can make these pretzels into cinnamon-sugar soft pretzels, too. I will include a note at the end of the recipe in case dessert-style pretzels are your thing!
WATCH THE HOW-TO VIDEO!
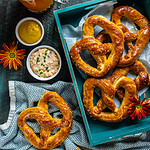
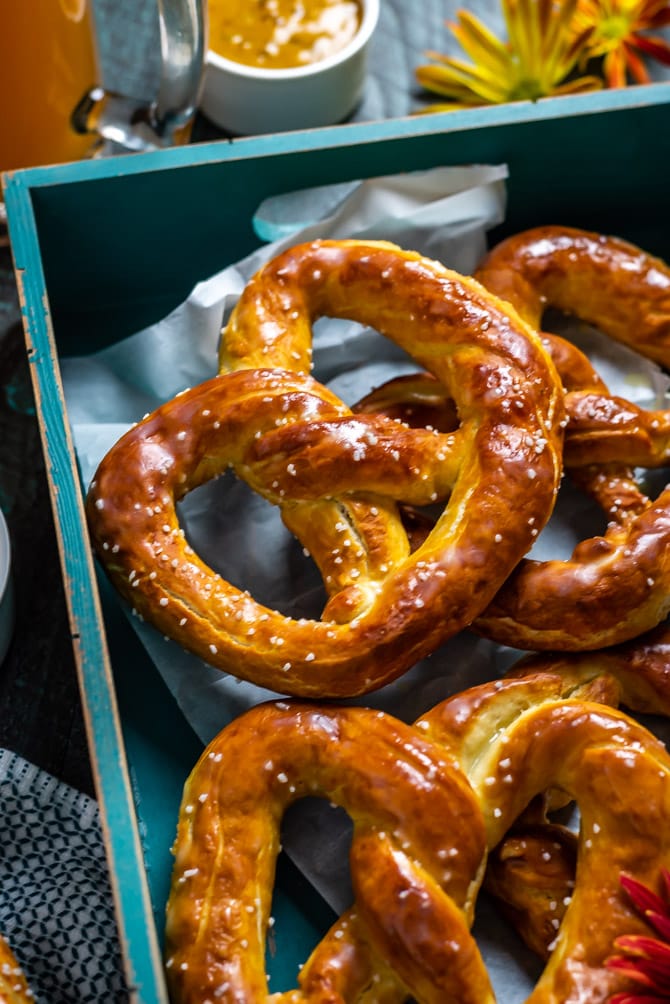
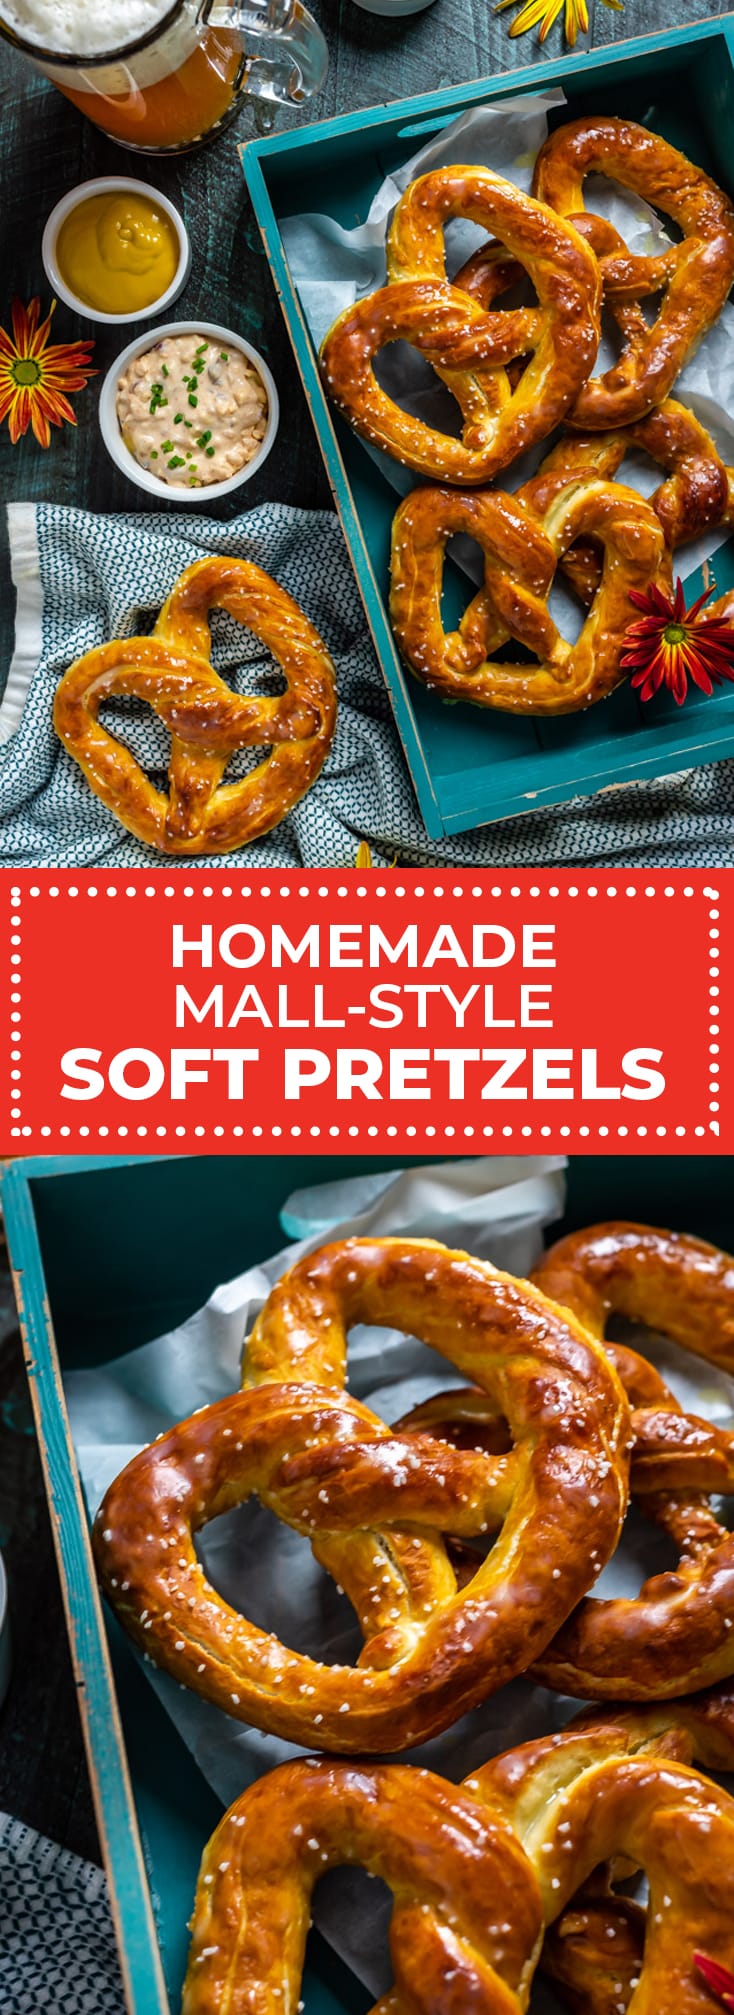
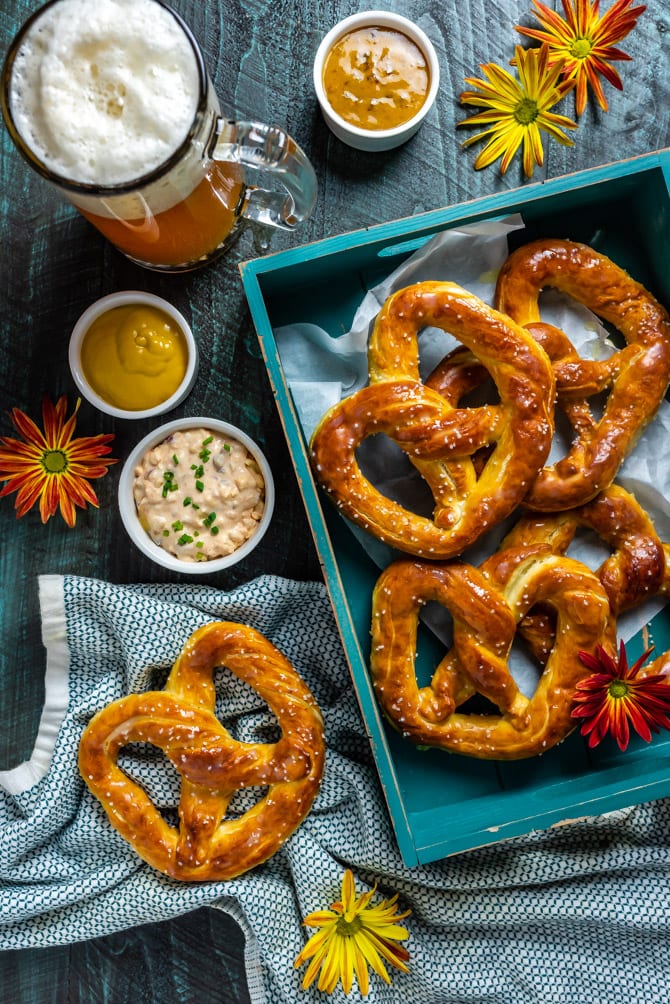
Homemade Mall-Style Soft Pretzels
- Total Time: 1 hour 8 minutes
- Yield: 6-8 large pretzels 1x
Ingredients
- ⅔ cup baking soda
- 2 tablespoons granulated sugar
- 1 packet (2 ¼ teaspoons) active dry yeast
- 1 teaspoon kosher salt
- 1 stick (8 tablespoons) unsalted butter, divided
- 3 cups all-purpose flour, plus more for dusting
- Vegetable oil, for greasing the bowl
- 1 tablespoon coarse pretzel salt, for sprinkling
Instructions
- Preheat the oven to 250°F. Line a baking sheet with foil. Evenly sprinkle the baking soda over the prepared baking sheet and bake for 1 hour. Melt 2 tablespoons of the butter.
- Meanwhile, pour one cup of warm water into a large bowl. Whisk in the granulated sugar until dissolved. Sprinkle the yeast over the water and let sit until the yeast becomes frothy, about 5 minutes. Stir in the salt and the 2 tablespoons of melted better.
- Add the flour, stirring in a bit at a time, until a dough forms and loses most of its stickiness. Knead the dough until smooth, then lift from the bowl and oil the bowl with vegetable oil. Place the dough back into the bowl and cover with plastic wrap. Let sit in a warm spot until doubled in size, about 45 minutes to an hour.
- Remove the baked baking soda from the oven and set aside. (Make sure not to breathe it in or handle it with your bare hands as it can be irritating.) Preheat the oven to 450°F. Line a sheet pan with parchment paper and set aside.
- Spray nonstick spray on your counter or large cutting board, or use parchment paper to cover. Pour out the risen dough.
- Cut the dough into strips approximately 1-½” wide and 8” long. Then, stretch and roll the dough strips until they are long, thin ropes, about 36" each.Shape the ropes into the classic pretzel shape (as demonstrated in the video above).
- Pour 3 cups of hot tap water into a large, non-reactive bowl. Whisk the baked baking soda into the hot water until dissolved. Briefly dip each pretzel, one at a time, into the baking solution and then place on the prepared baking sheet. You should be able to fit 6, barely touching pretzels on the sheet. Sprinkle the pretzels with pretzel salt.
- Bake for 8 minutes, turning the tray 180° half-way through. Melt the remainder of the butter.
- Brush the freshly baked pretzels with melted butter and serve warm.
Notes
These pretzels are best served fresh from the oven, but store well in the fridge for up to 2 days or in the freezer for up to 1 month in a plastic bag with the excess air pushed out. To reheat, wrap each pretzels in a slightly damp paper towel and microwave in 15 second intervals until warmed through.
If you'd like to make cinnamon-sugar pretzels, don't add pretzel salt to the pretzels before baking. As they bake, combine granulated sugar and ground cinnamon in a large pan or tray. Approximately 2 tablespoons of cinnamon per cup of granulated sugar is ideal. Once the pretzels are fully baked, brush them all over with butter. While they're still warm, place them one at a time in the tray of cinnamon and sugar and shake back and forth to coat.
- Prep Time: 1 hour
- Cook Time: 8 mins



Monica says
You can't leave us hanging and not say what the dipping sauces are. That is the best part of pretzels for me anyway.
Katt Cole says
I made a cinn and sug cream cheese dip
Rekea says
Good morning, Thank you for posting this awsome recipe! I was wondering, can the flour be substituted for a gluten free flour?
Nancy says
I have the same question!
Geena says
These pretzels turned out amazing and they were so simple to make. I always veered away from making soft pretzels because I didn't want to buy lye, but baking the baking soda is a genius solution. As recommended by Morgan in her reddit post, I subbed active dry yeast for 2 tsp of instant yeast. I'll be making them again this Friday and I'm super pumped for more fresh pretzels!
erik ivy says
" I will include a note at the end of the recipe in case dessert-style pretzels are your thing!"
About that "note".....am I missing it or have you not added it yet?
Thanks for the recipe!
Nick says
These looks really nice. I like the touch of brushing with butter after baking, I always seem to forget that step!
Barb says
Made these today following the recipe exactly. Delicious! 10 Stars
Liz says
Fantastic! Tastes just like Auntie Anne's. I never knew how easy it was to make. Just a suggestion to others. Use tongs when dipping in the baked baking soda water. I used my hands for the first one and it made my hands feel wierd. I quickly washed them and then used tongs for the rest.
Emma says
I made these and they were delicious! And so easy to make. Everybody in jut family loved them, so much in fact that I had to make second double batch an hour later!
Tracy says
I tried a couple different recipes before settling on this one. My observations:
While other recipes call for briefly boiling pretzels, this recipe calls for just a brief warm bath. I tried it both ways and I'm happy to report that the brief bath is sufficient to get a good crust that is crispy and nicely browned with a subtle pretzely baking soda taste. Boiling resulted in a much darker, thicker crust with an almost bitter taste. Some might like the stouter taste, but we enjoyed the recipe as written.
I've made the recipe 3 times now, and so far I have not added all 3 cups of flour...the dough gets to a point where it's silky and satisfied and I just don't want to force any more flour into the dough.
All in all a very good, very easy recipe!
David Lent says
water is missing from the ingredients list, although "one cup of warm water" (for yeast) is referenced in the instructions. One and 1/4 cup of water is the amount needed for this recipe.
Tosha says
Thanks!
Kris says
It's a process that's worth while! My family loved these and dipped them in velveta cheese.
Sarah R. says
I have made this recipe a couple times and absolutely love it! Soft pretzels are my bread weakness. I do have one question; have you ever used this recipe to make like pretzel hotdog buns? I know you have a pretzel roll recipe but it is different than this and I would like to stick with this recipe but not sure if it would work for pretzel buns. Thanks!
Kelly Anthony says
I can already smell these baking in my oven. So glad I don't have to go to the mall to get a pretzel anymore.
Lauren says
I absolutely love soft pretzels and am always on the hunt for the perfect Auntie Anne's copycat recipe! I can't wait to try these.
Jessica Formicola says
We made these pretzels for a party over the weekend and everyone loved them! Thanks so much for sharing the recipe!
Chloe says
I love hot pretzels but this was my first time attempting to make them myself. They came out amazing!
Morgan says
I'm so glad to hear it, Chloe!! 🙂
Priya Lakshminarayan says
Oh, wow..they look perfect..I will try out this recipe this weekend., I love pretzels!
Marko says
The pretzels were awesome, I served mine with mild cheddar and mustard. I think your recipe is amazing, it was easy and worked really well. My only question was the amount of Baking Soda dip for 8 pretzels - it seems like I could have made 1 cup and easily coated all of my pretzels - it felt like I did something wrong i went back and double checked. They were so popular I'm going to have to make a double batch next time.
Lisa says
Amazing!!!! PERFECTION! Found this during our Forced home spring break staycation! The college girls all created their own masterpiece and said it was better than Annie’s at the Mall!!! Thank you!!!
Morgan says
I'm so glad to hear that, Lisa!! Thank you!
Fredda mitchell says
Can I use the bread machine to make the dough?
Morgan says
I've never personally tried using a bread machine to make the pretzel dough, but have heard that you can, and I can't see why it wouldn't work!
Kayla says
Today was my first attempt at using yeast in a recipe and these turned out great! Perfect in every way! I was nervous to make them at first but they were actually super easy. Thanks for the great recipe! Definitely will be making again!
Emily says
THANK YOU for creating this recipe! IT IS SO GOOD! I am RIDICULOUSLY happy!
<3
Morgan says
I'm so glad to hear it, Emily!
Judith Valencia says
Recipe calls for 8 tablespoons of butter but it only says to use 2 tablespoons of melted butter in the yeast water. Is the rest of the butter to brush on at the end? My dough is pretty dry I thought maybe I did something wrong?
Morgan says
Hi Judith! Yes, the rest is for brushing. If your dough is too dry, add more water-- it can just be due to slight differences in measuring the flour or humidity in the air. You want your dough to be smooth and not crackly at this stage. You can see an example in the video in the post. Hope that helps!
Judith Valencia says
The dough was dry but we continued with crossed fingers.They turned out sooooo good! My 6 year old said his tastebuds were in heaven! LoL! Thanks so much for this amazing recipe
Morgan says
I'm so glad to hear it!! His tastebuds were in heaven-- haha that's too adorable. Thank you for reporting back with the update!:)
Rob says
What can I say? I’m shocked! I followed the recipe, exactly as specified, and the pretzels that I made were indistinguishable from those of Auntie Anne’s!
Morgan,
Thank you for taking the time to create such a well-written and easy-to-follow recipe!
Carol says
I am working with limited resources (of course, I have plenty of yeast during this quarantine though!)...would baking baking powder have the same effect for the warm bath as soda?
Kimarie Croce-Modica says
Carol, baking powder would not work here. There is a specific chemical reaction that occurs with the baking soda and hot water that is imperative for the pretzel crust. The only substitute would be lye, which is harder to find and dangerous to work with.
Barbara says
I've made a lot of pretzels in my days. This is by far the most magestical pretzel making experience I've ever had. The pretzels were not only tasty, they were also good. Here's a helpful tip from Karen that I tried myself: use the dough to make one giant pretzel. You'll need to double the bake time but the results are unfathomable. The pretzel filled me up real noice 😉
Jasmine says
Can anyone see the video in the recipe? I see the title that says "watch the video" but I don't see a video come up.
Bethany Rasio says
I couldn't see the video in Chrome, but I could see it in Safari. I recommend. different browser.
Trina says
Wheres the video??
Gloria Elizabeth logsdon davis says
I just made these. Amazing. I had to eat one right away. Just wish I had cheese sauce to go with it. Also my son had fun playing with a piece of dough. Held its shape. So yummy. I recommend. Memories of the mall hit me and can’t wait for the van to be lifted. You have to try. So easy. So tasty. So just right!!!
B says
I agree with Monica. Please can we get the dip recipes??
Sarah R. says
This is my absolute favorite pretzel recipe, I’m making it for probably the 6th time. I had someone request these pretzels for a party so I plan on baking them then freezing on a tray before putting into a ziplock bag to stay in the freezer. Thank you for this amazing recipe!
Simran says
They were amazing and tasted just like the mall pretzels. I made them with a cheese dip. Definitely going to save this recipe. Thanks.
Shanda Scott says
OMG... These pretzels are freaking awesome and soooo easy!! I've literally made three batches in a row... literally one after the other...lol
Thank you for posting... ❤️✌️❤️
Jane says
This is going to sound like a silly question. But exactly how do you bake the baking soda?
Kimarie Croce-Modica says
Just sprinkle the baking soda on a cookie sheet or baking tray and put it in the oven as directed.
Ellen says
Flavor was awesome. Recipe pretty easy. Only problem I had was they all stuck to the parchment paper. I went back several times to read the recipe again and do not see that it states should spray the parchment before laying pretzels??
Also felt 36 inches was too long and rolled mine shorter. Again delicious!
Morgan says
What brand of parchment paper did you use? The dough should not stick but if you have issues it might be from overly wet dough, unfortunately! I'm glad that you enjoyed them though!!
Danielle Warner says
Very easy and my family said they are by far the best they have ever had!
Eva says
When you opt to use the scale to double/ triple The recipe it can really mess you up. The instructions at the bottom do not correlate because it’s still uses just one cup of warm water as you double or triple the recipe and the flour seems to be too much for just one cup of water and also it doesn’t correlate with the amount of yeast! Ugh so frustrating. I’m going on the third time trying it in one day.
Morgan says
Thank you for letting me know, Eva! I didn't realize that that is an issue with the recipe card coding and I will definitely work on fixing that! I'm sorry!
Paige says
I have made these several times now. They are excellent. A few times I have made the dough ahead of time, put on a sheet and refrigerated the dough until I got to my parents house - then did the baking soda dip and baked. Perfection
But would it be possible to make the dough ahead of time - form AND dip in the baking soda bath then refrigerate a few hours. Then put in the oven? Or do you think they need to be dipped in the baking soda bath just before the oven?
Colleen says
I've made dozens of soft Pretzels. This recipe has been by far the tastiest! I doubled the recipe and made half regular half dessert. Not a single one left!
Stacey Carpio says
These came out so well. I thought I messed up because the baking soda clumped in the water instead of dissolving. I had to keep mixing it between pretzels. They taste almost exactly like mall pretzels. Glad I tried it and will be making them again.
Serena says
Hi! I was wondering if you can pre-make this
Monica says
This recipe is ACTUALLY incredible. I LOVE mall pretzels and have tried countless recipes over the years... I will never stray away from this recipe! Everyone in my house said they are the best they've ever had too. Thank you!
Elizabeth says
Second time I’ve made this; great recipe! Question though: about how long do you hand knead the dough to make it elastic and smooth? I was trying to use the poke and windowpane tests and it did appear to be getting more elastic but it’s always hard to know how far to go.
Paige says
Can I use this recipe for pretzel dogs, or do you recommend the specific pretzel dog recipe?
Marianna says
They're the only pretzel I'll make now and everyone I've made them for say that they're the best they've had! They've become my special occasion food now just because everyone loves them so much!
Hannah says
I have been making these every week for about two years. According to myself and everyone who has ever tried these, they are the best pretzels ever — even better than the ones from the mall. I’ve got the recipe memorized now!
Morgan says
I'm so happy to hear that, Hannah! Pretzels are my absolute favorite so I'm so glad you've been enjoying them as much as I do 🙂
Tosha says
Made these today and I’m so happy with how they turned out! My first time ever making homemade pretzels. They are pretty and tasty!
Morgan says
You're a natural!! When I worked at Auntie Anne's, it took most people a few tries to get the hang of making them pretty. I'm really happy to hear that yours turned out so well and that you enjoyed them!
Susan Sims says
5 Star! Delicious and easy. I tried another recipe some time ago and we all hated them. Horrible, bitter taste. Not these! Yummy! Thanks for sharing your expertise!
Morgan says
So happy to hear that you enjoyed them Susan!!