Is a recipe chock full of fresh cherries calling your name? Here's how to pit cherries without the fuss (or cherry pitter)! You're going to be using these methods all cherry season long.
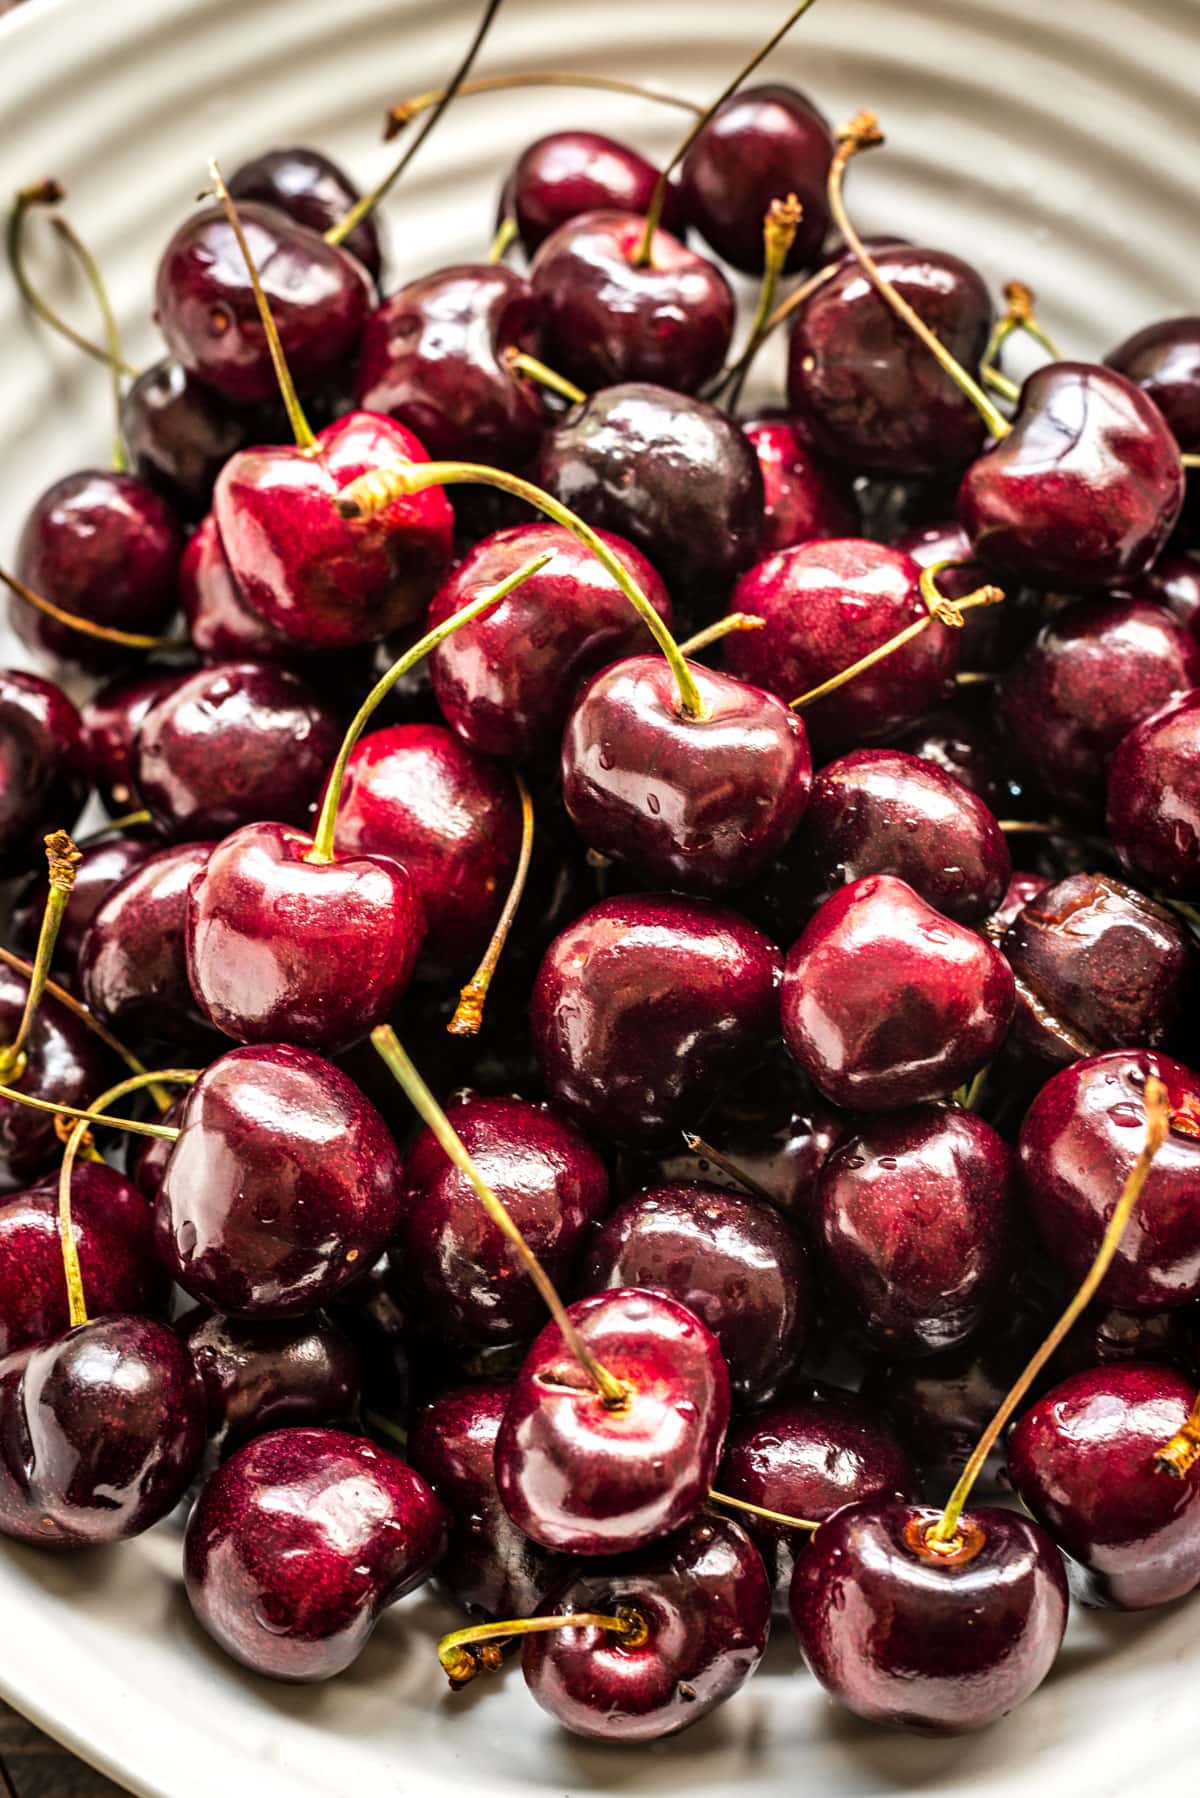
Sweet, tart, juicy cherries are way up there on my list of favorite fruits. But if I'm honest, there is one thing that has kept me from buying them by the bushel each summer: the fact that I know I'd have to pit them all. That's a whole lot of fussing for someone who keeps forgetting that cherry pitters exist.
But you can pit cherries without a cherry pitter, and so this year I decided to put on my big girl pants and get to pitting. I tested a bunch of methods from all over the web, and came up with a list of what I think are the best ways to cruise through a stack of cherries. That's right. We're cruising. No pit stops, even.
Preparing the Cherries
Before you can make that pie, tart, or cocktail, you've got to get rid of those pits. But before you can do that, you've got to prepare them. AKA rinse and remove those stems!
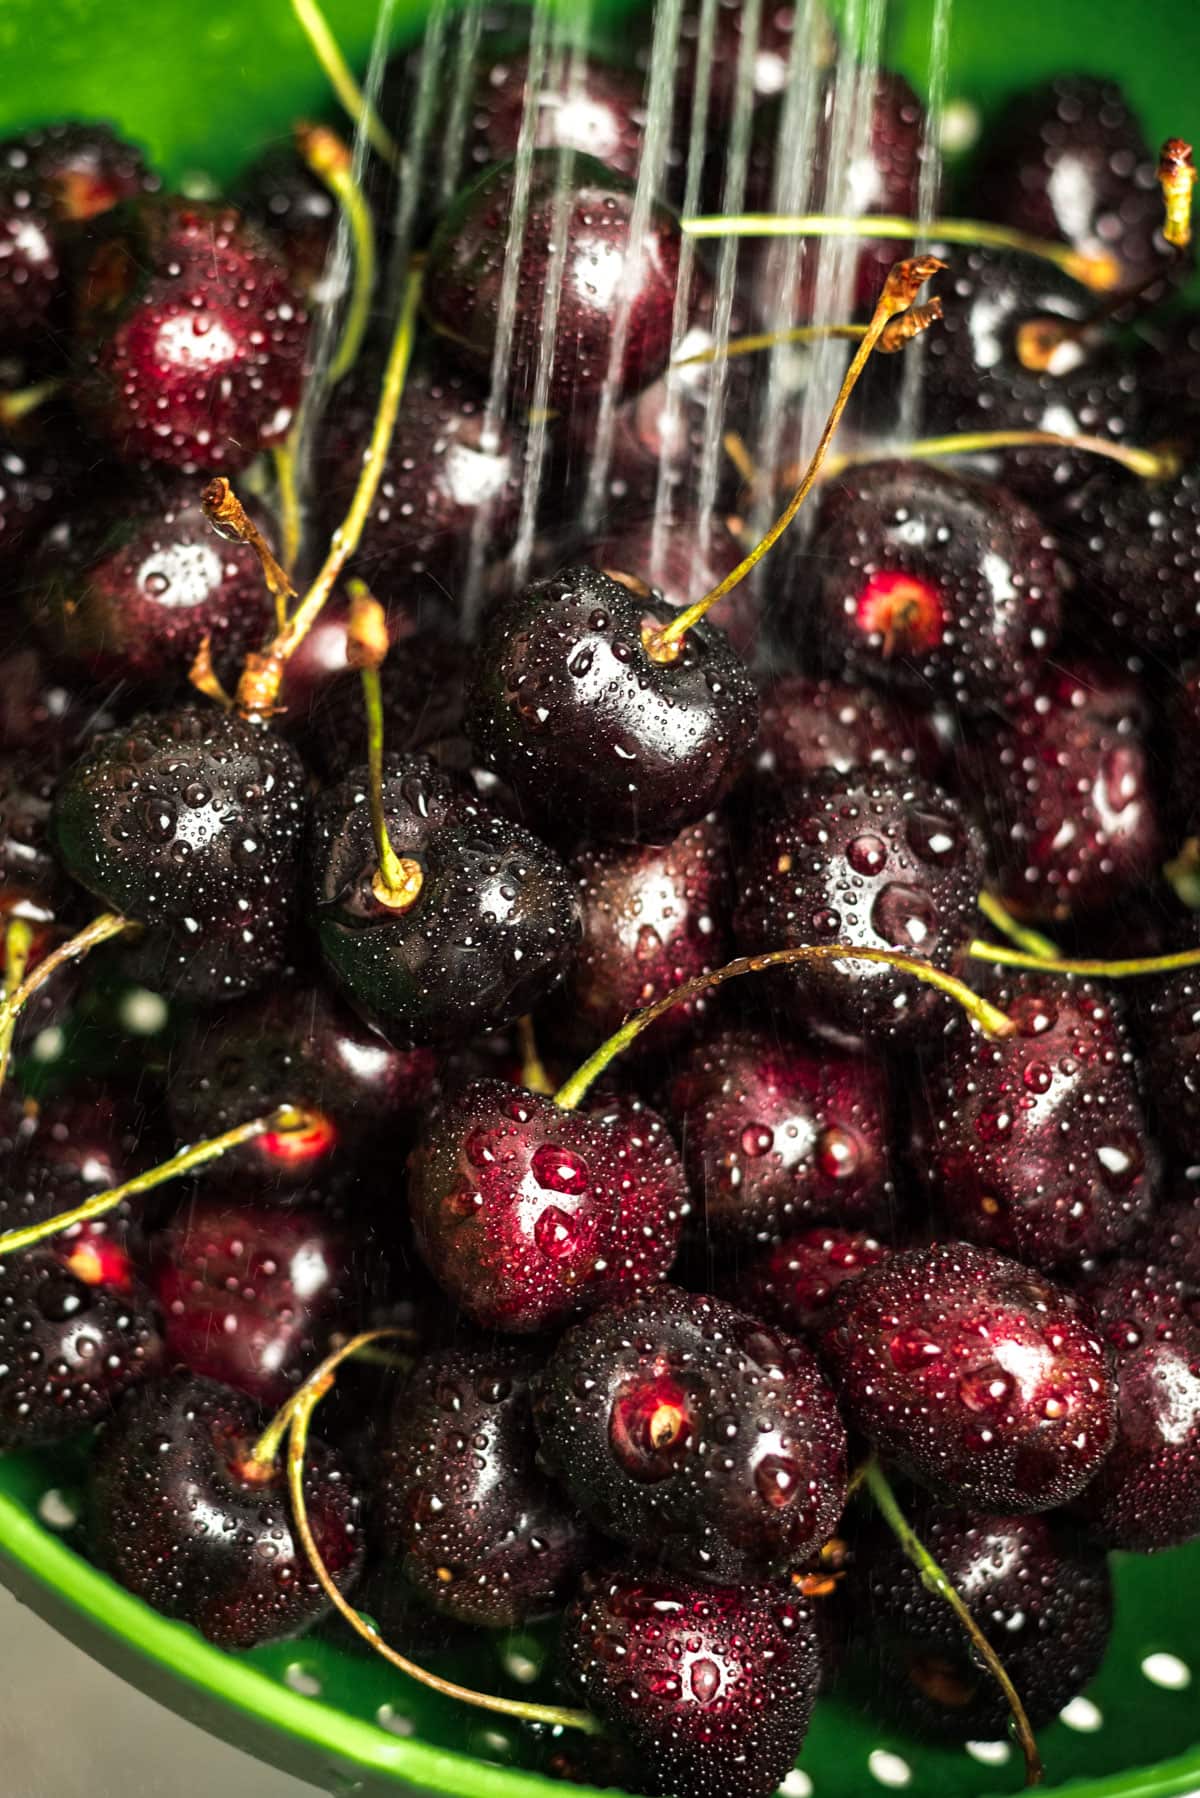
To clean your cherries, dump them into a colander and rinse under cool water to remove any dirt and debris. You'll want to gently rub them with your fingers just to make sure there's not anything stuck on them that the water wasn't powerful enough to lift off.
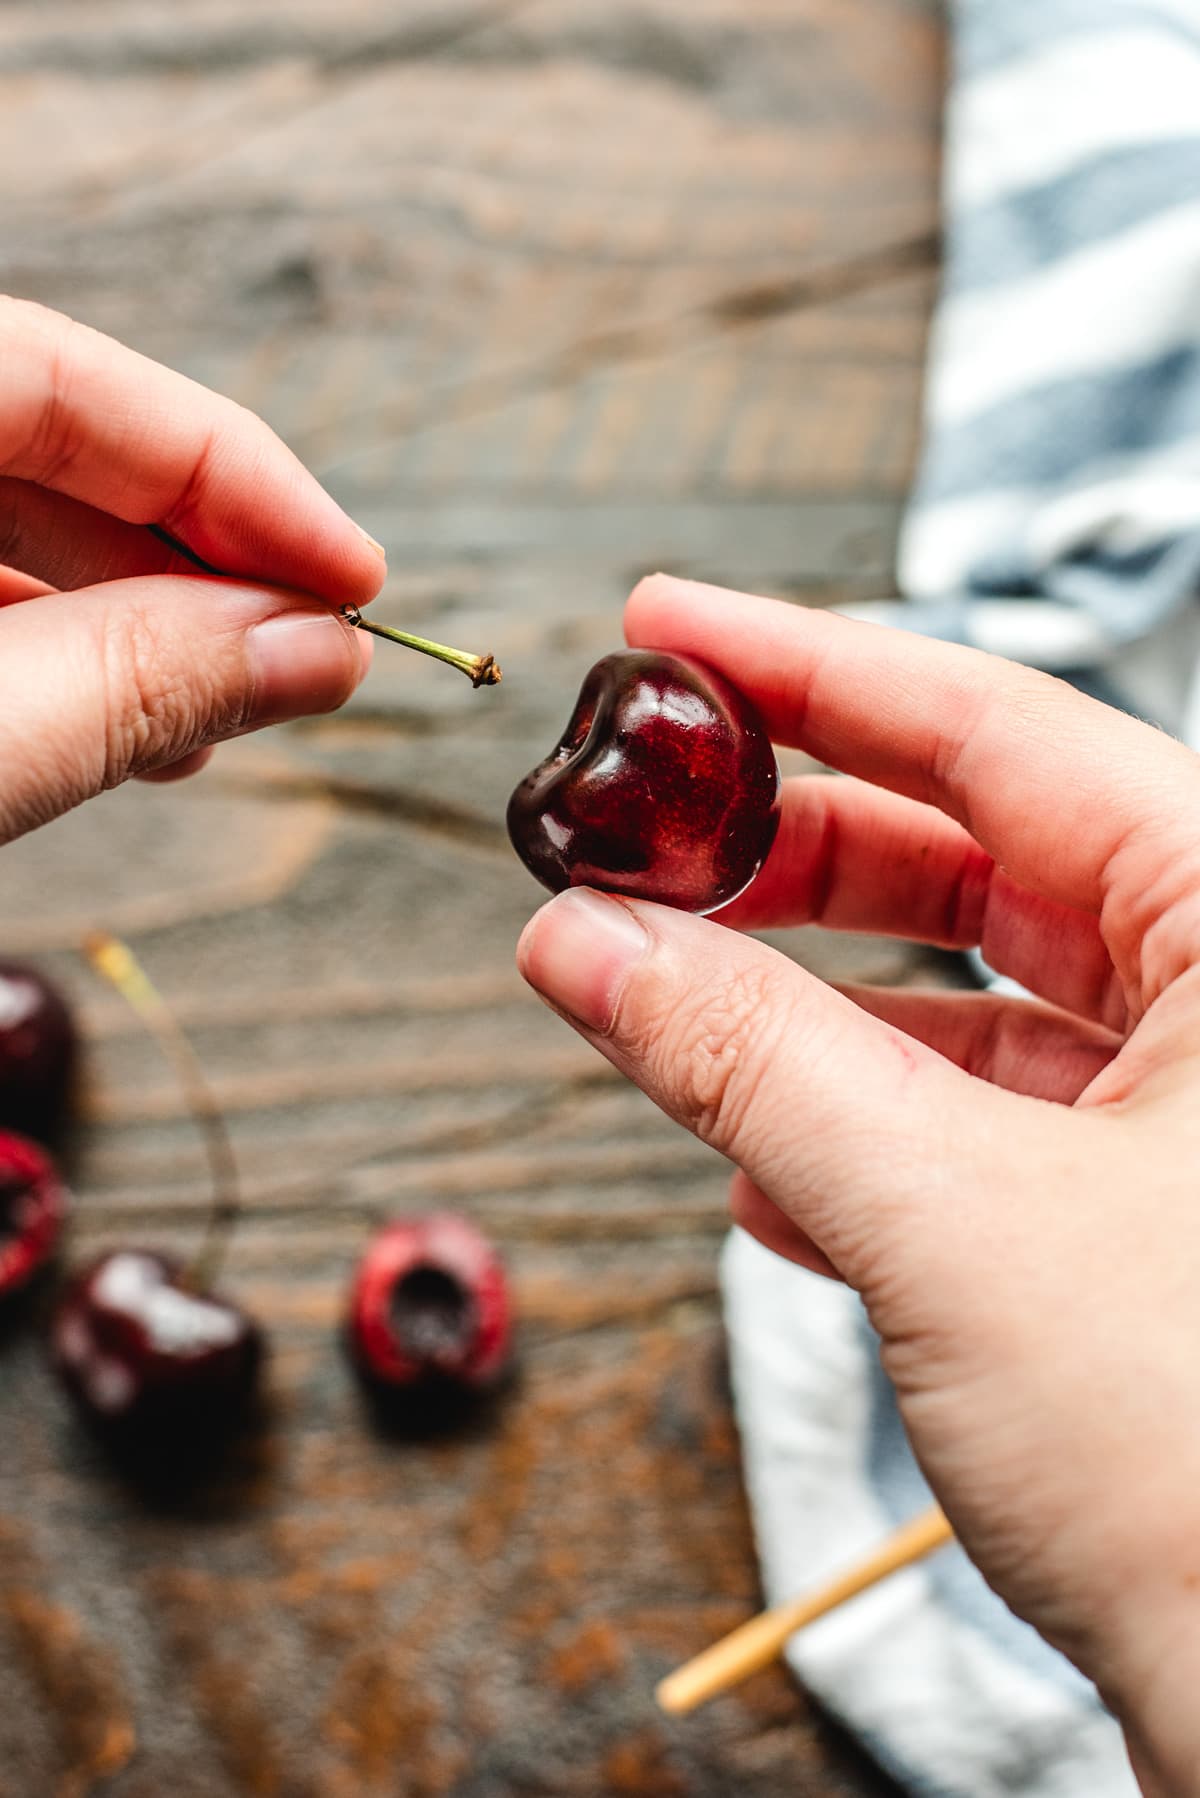
Then, one at a time, slightly twist the stem while pulling to detach the stem from the cherry. There shouldn't be a ton of resistance, and you should be able to get through a bunch in a matter of minutes.
My Favorite Methods for Removing Cherry Pits
No pitter? No problem!
There's no need to go out and buy a cherry pitter or other fancy kitchen gadgets to make your cherry pie dreams a reality. There are a few techniques you can use to remove cherry pits using items you probably already have laying around.
Pitting By Hand:
PROS: No special equipment needed.
CONS: Finger-staining and torn cherries.
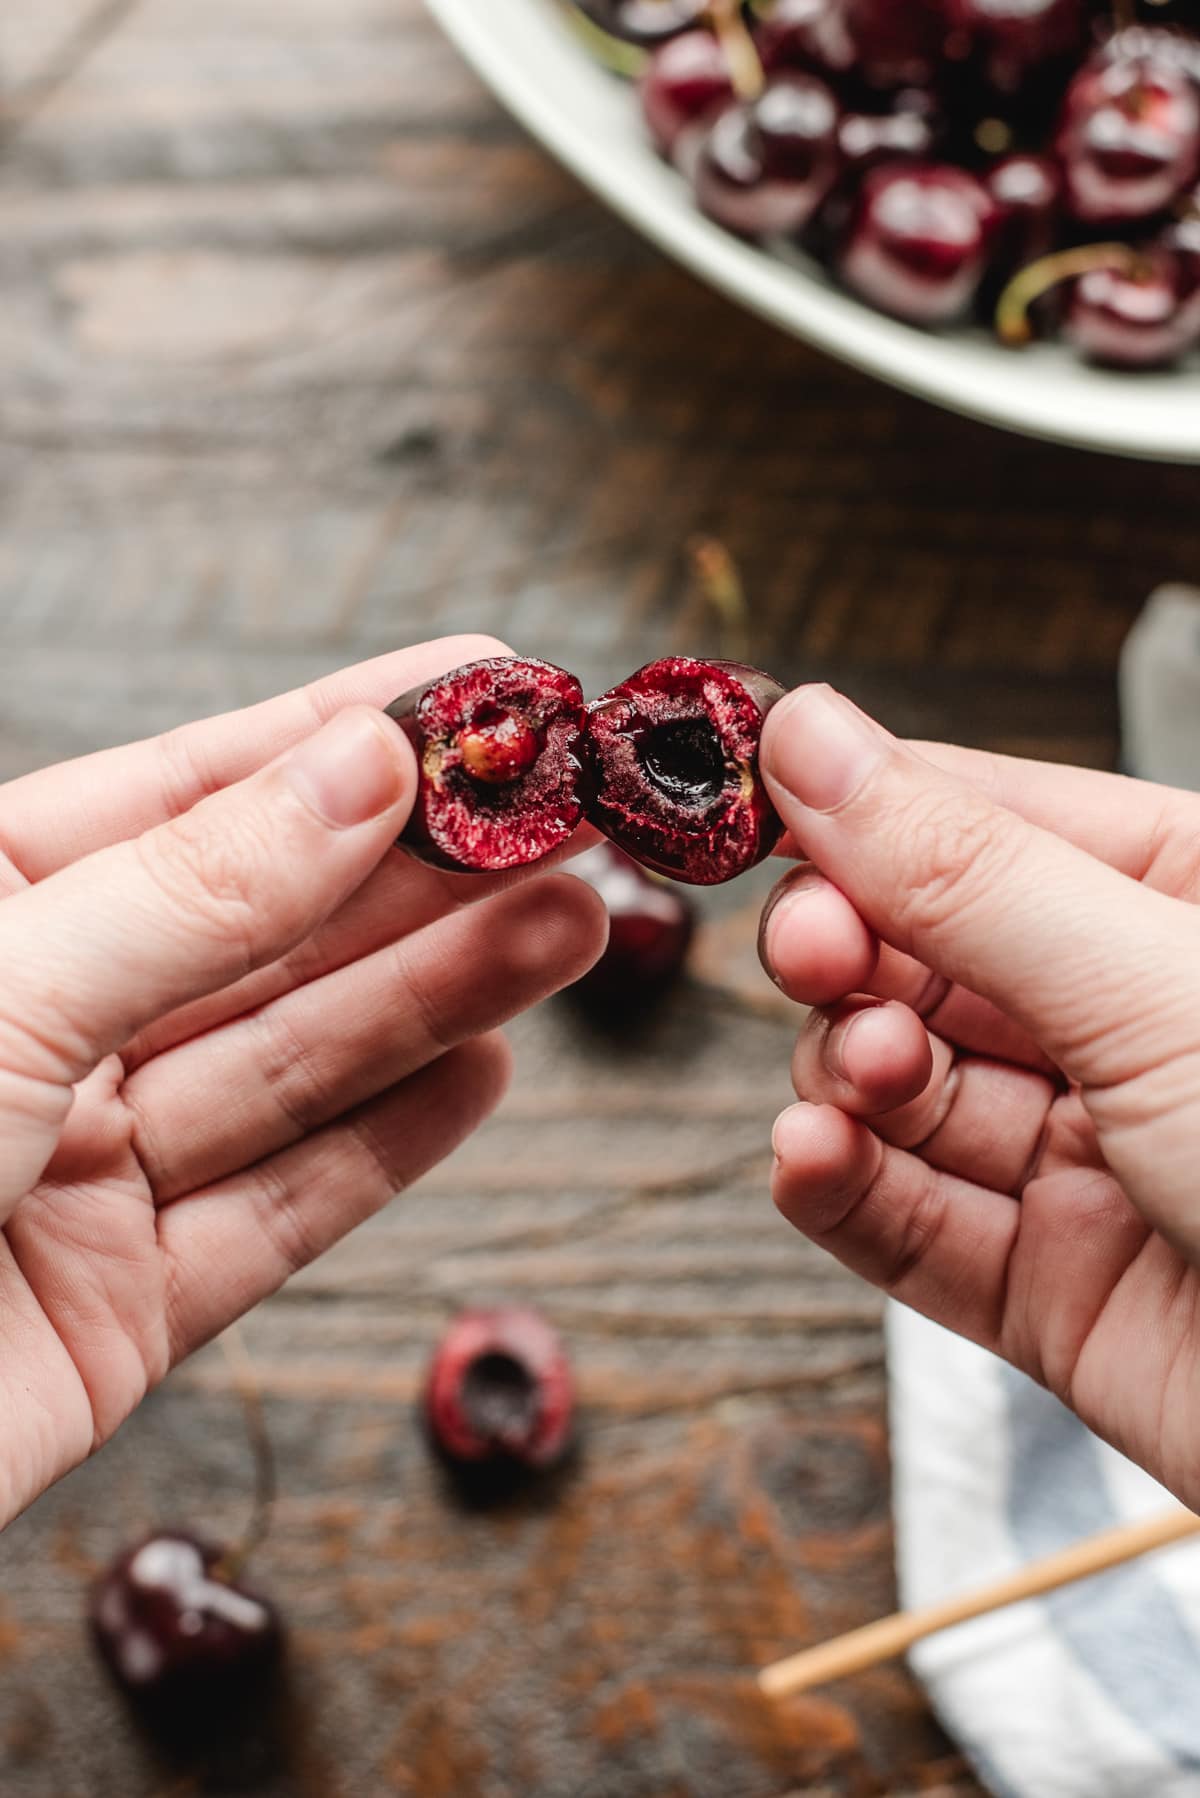
Pitting cherries by hand is about as easy and classic as it gets, you just have to use your fingers-- and be okay with some heavy cherry juice staining your digits. For this method, hold a cherry between your thumb and index finger. Press your thumb in to crack the cherry open and pick the pit out by hand.
If you want presentable cherries, this isn't the method to go with, but if you're using them in a sauce or puree, their torn-apart appearance won't be an issue.
Pairing Knife Method:
PROS: Clean-looking cherries and always works.
CONS: Takes a while and doesn't work if you want cherries to appear whole.
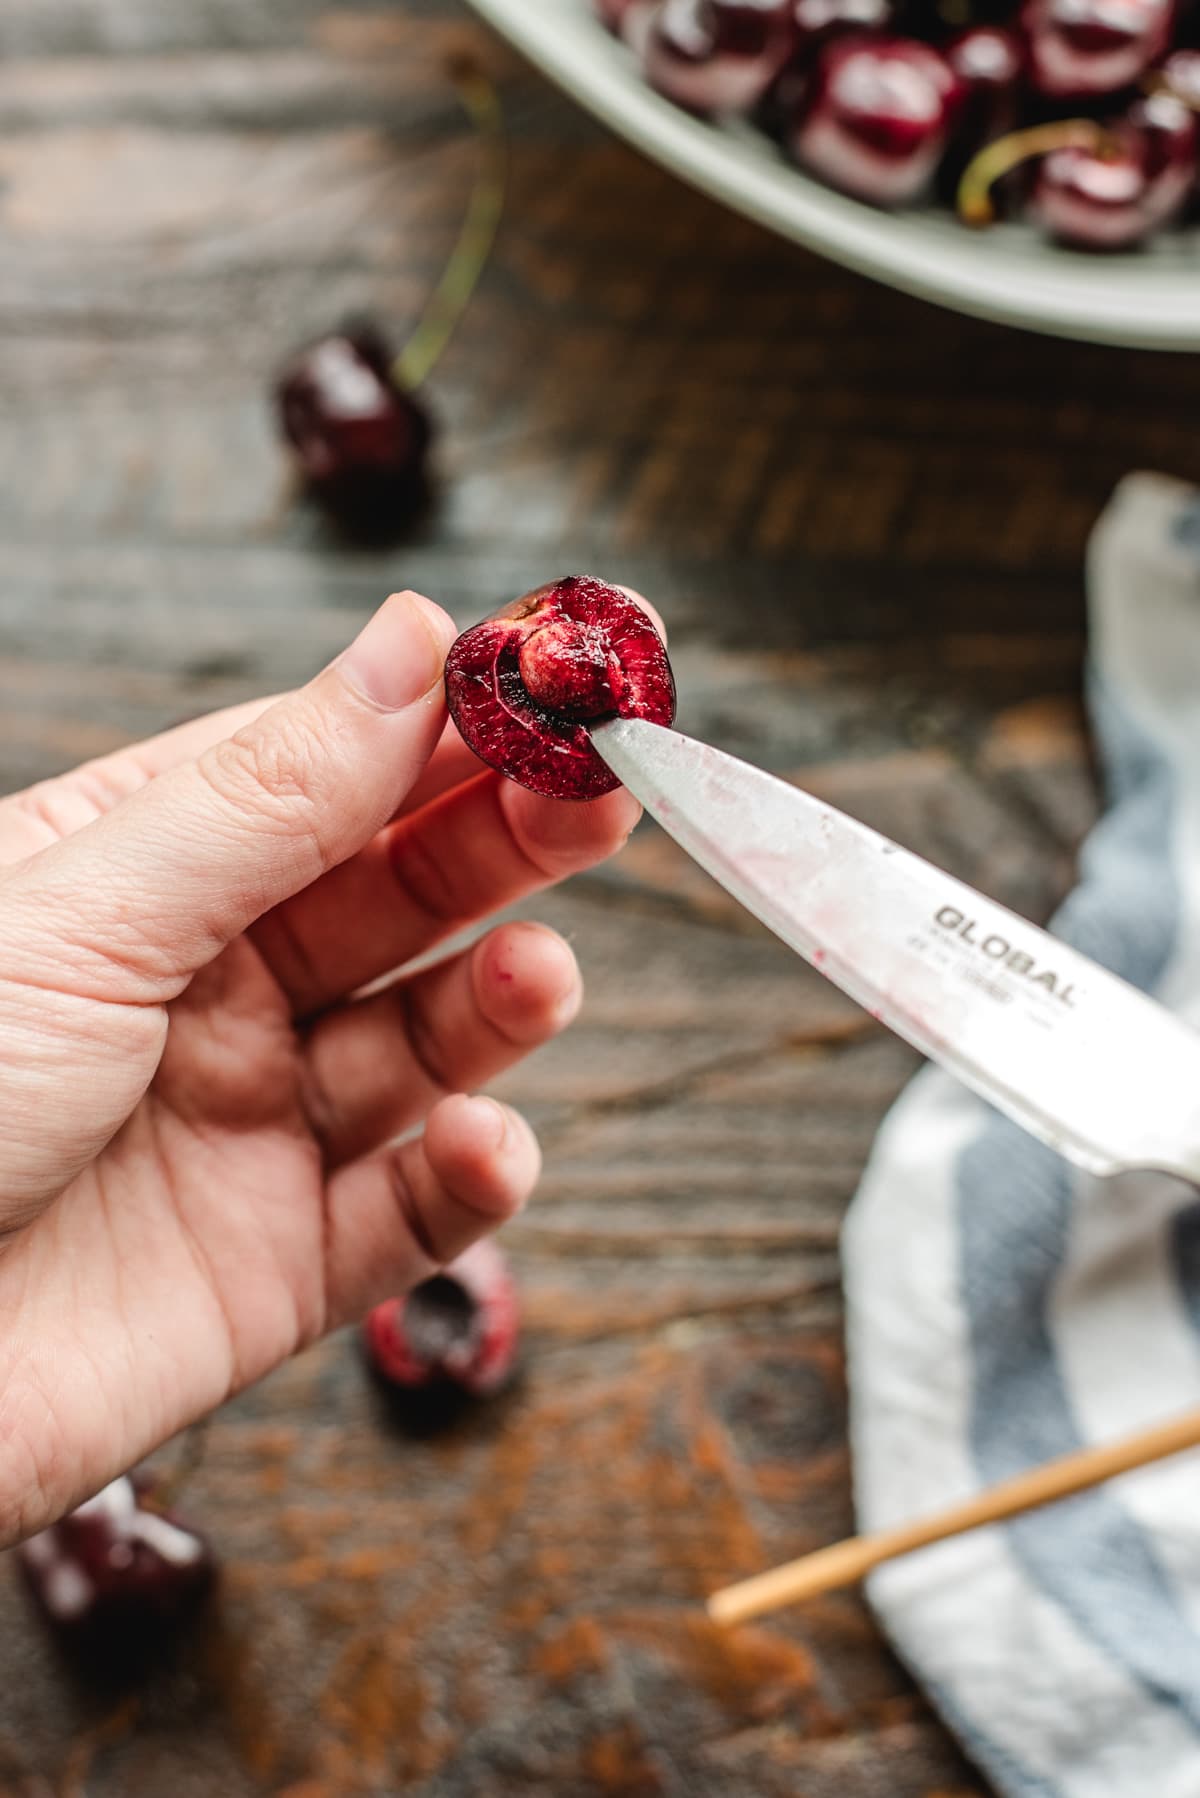
If you prefer a more precise approach, the pairing knife method is the one you want. This technique enables you to cleanly separate the cherry flesh while leaving it intact.
You pit the cherries with this method the same way you'd remove the seed from an avocado: Make a small incision around the stem area of a washed and stem-removed cherry with a sharp paring knife. Gently rotate the knife around the pit, cutting through the flesh until you reach the starting point. Twist the two halves in opposite directions to separate them, and remove the pit with your fingers or the tip of the pairing knife.
Chopstick / Straw Method:
PROS: Quick and leaves the cherries appearing whole.
CONS: Easy to miss the pit and tear the cherry.
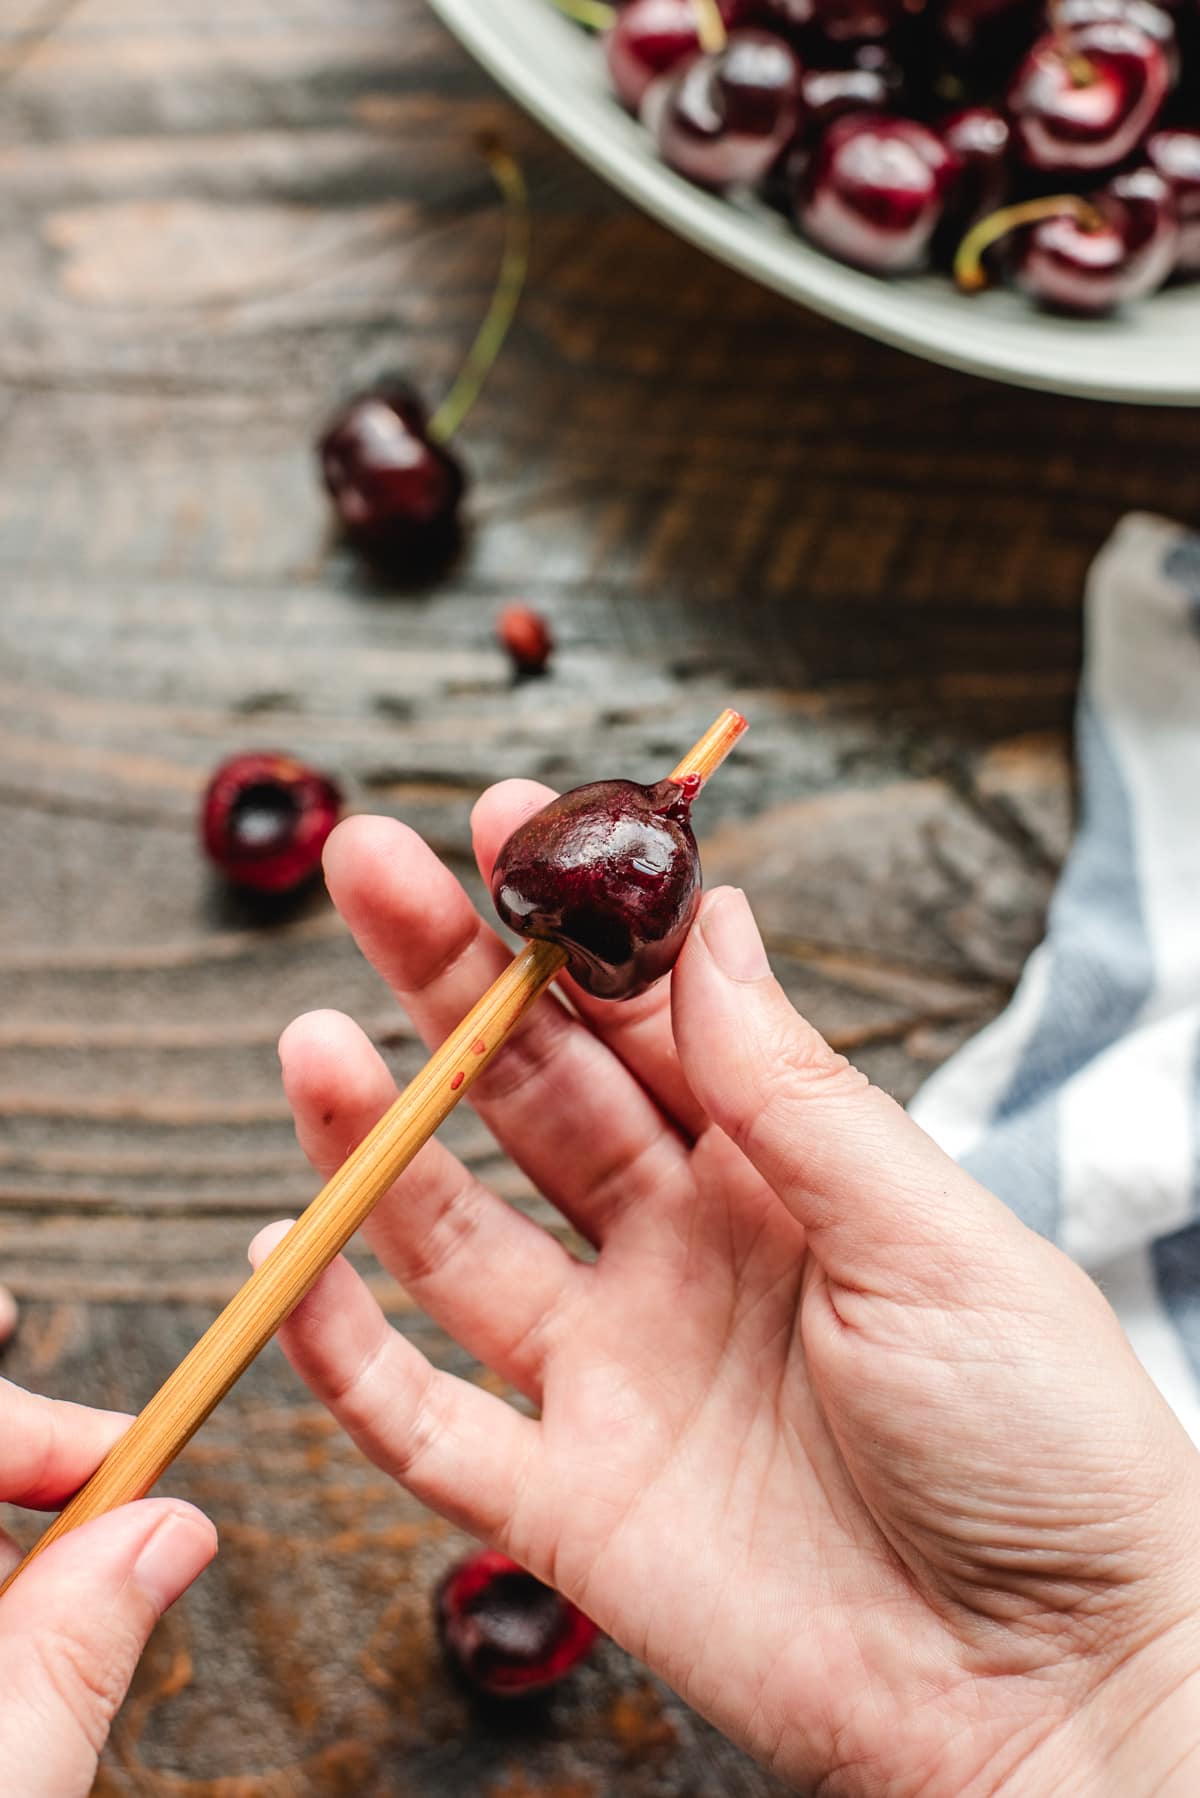
When it comes to simplicity, the chopstick/straw method reigns supreme. It's an easy and efficient technique that works well with larger cherries, and keeps them appearing whole (which is good if you're using them for, say, decorating a cake). The only thing is, you need to have good aim, or you can completely slip past the pit and wind up making a mess of your cherries!
Here's how it's done: Insert a metal straw or a chopstick into the stem end of a washed and stem-removed cherry until you feel it reach the pit. Push through the cherry, and the pit will be pushed out through the other end.
Bottle Method:
PROS: Same as above, but even easier and with faster cleanup.
CONS: Same as above, but requires an empty bottle
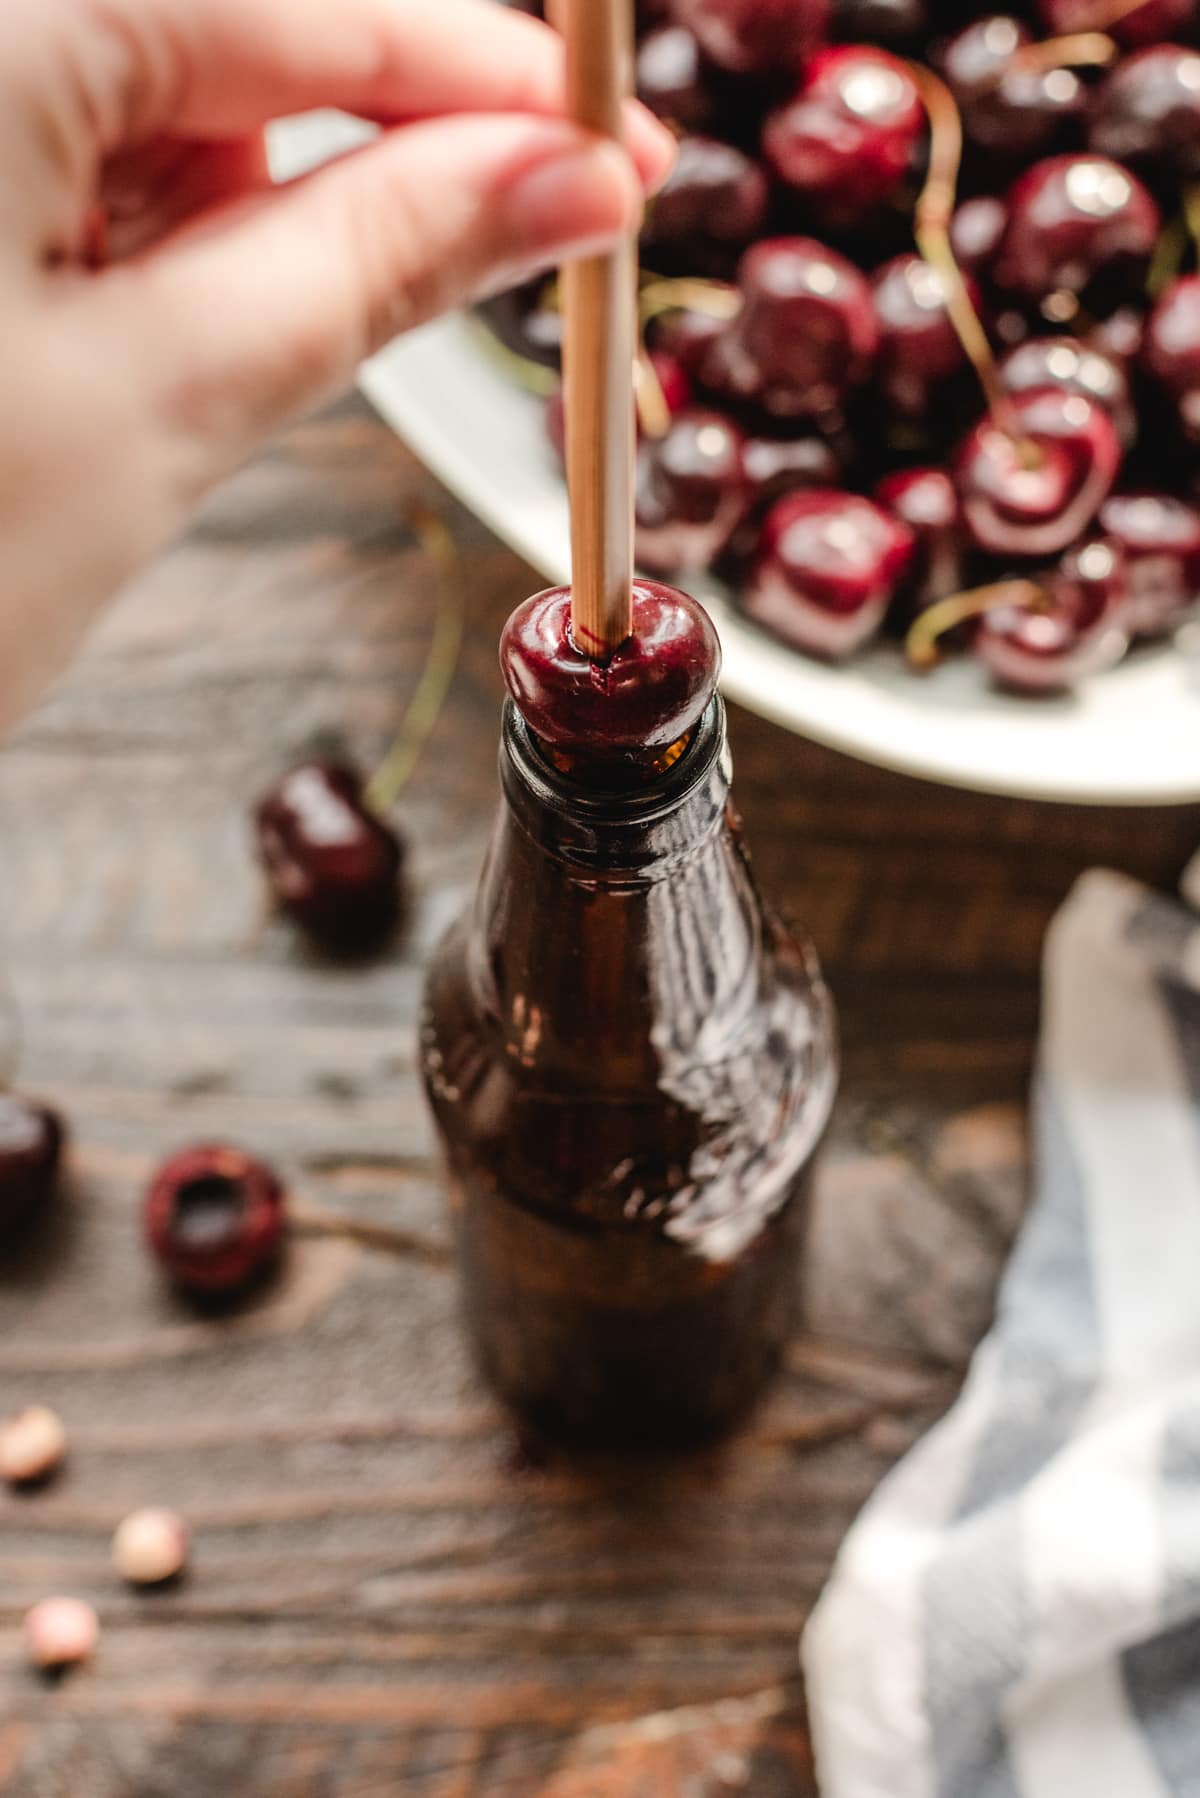
This method is just like the chopstick method, but it provides control and stability as you extract the pits. Plus, all those pesky pits wind up in the bottle instead of rolling around on a cutting board.
To do it, sit a cherry over the mouth of an empty soda, beer, or wine bottle-- the sturdier, the better. Steady the cherry and push a chopstick or metal straw in the top of the stemmed cherry until you feel the pit. Keep pushing down to force the pit out of the bottom of the cherry and into the empty bottle.
Paperclip Method:
PROS: Inexpensive and doesn't require cutting the cherry in half.
CONS: Can be messy and unreliable.
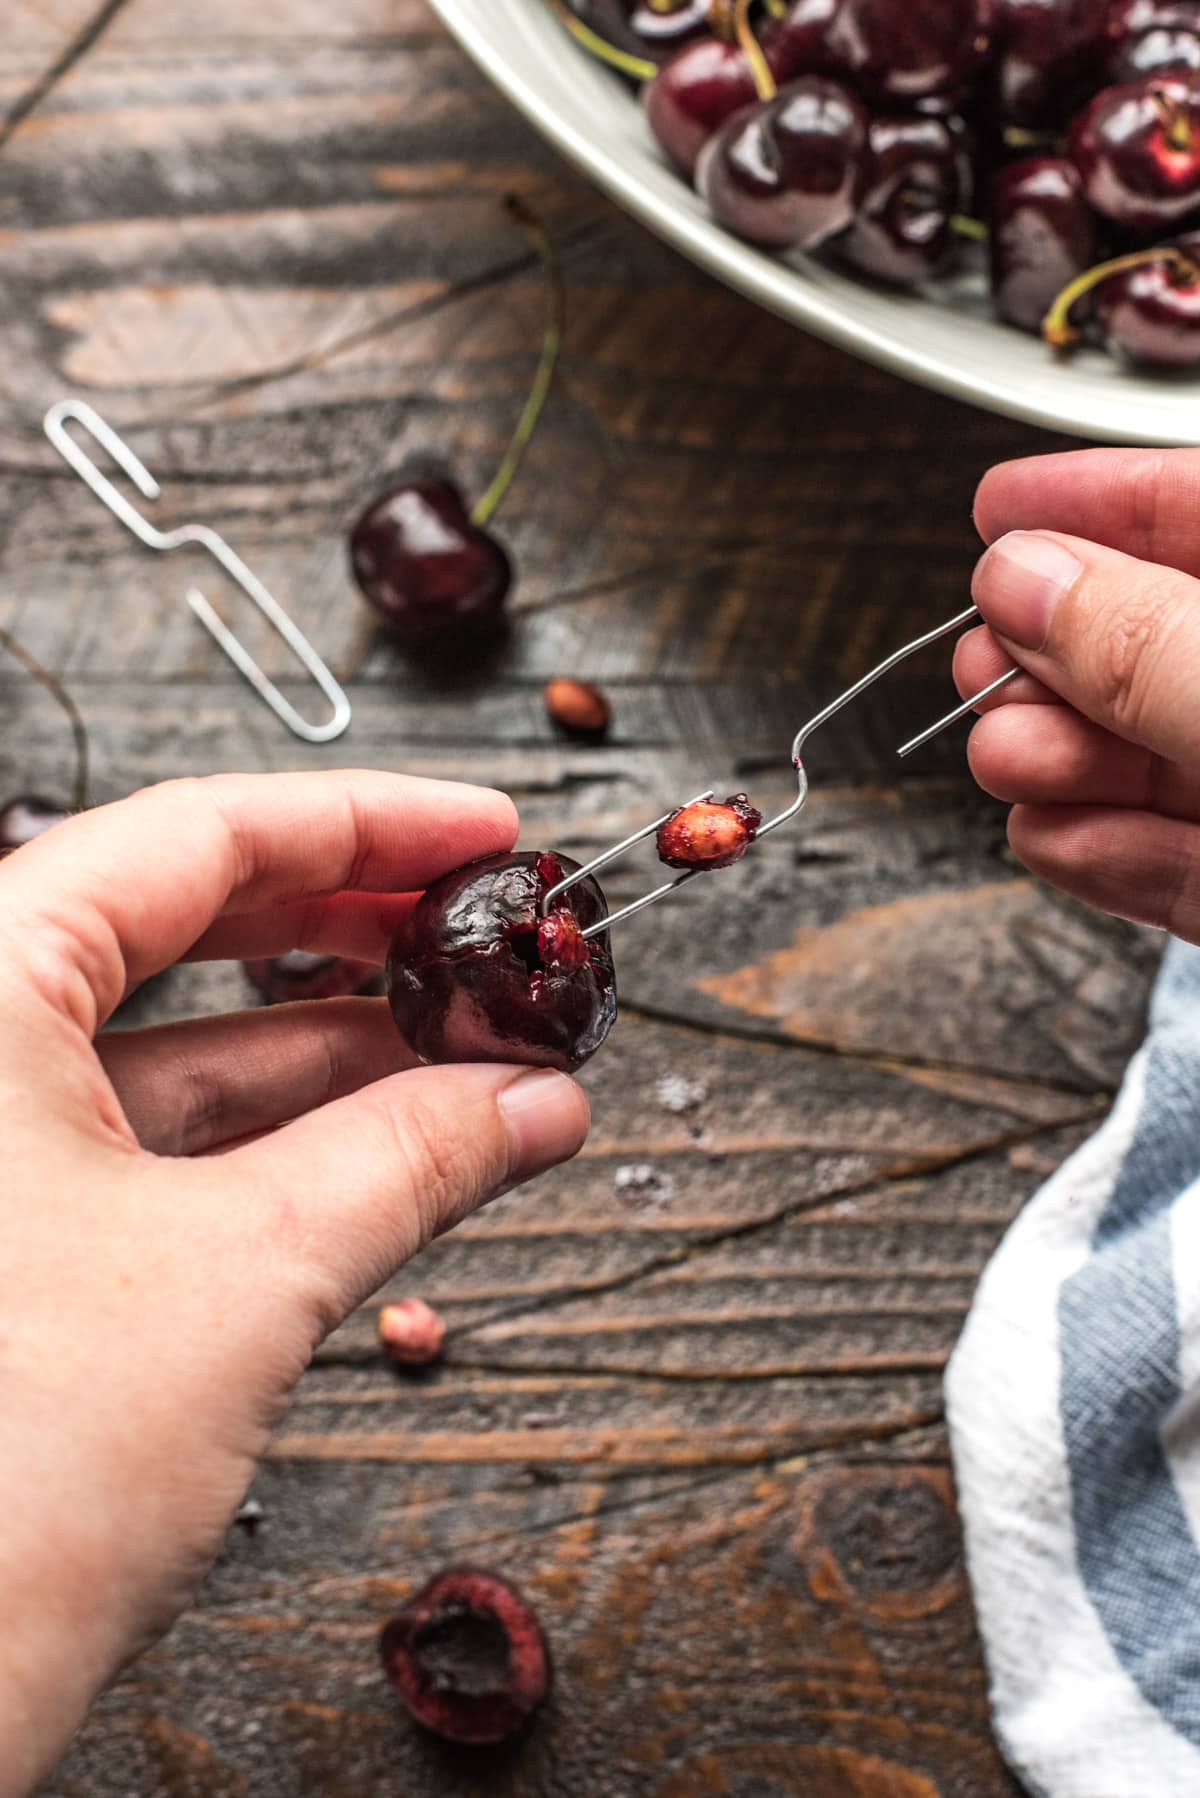
For those who enjoy a touch of ingenuity, the paperclip method is a great option. And even though it might seem a bit out of left-field, grandmothers everywhere will swear by this method-- it's a classic.
Unfold a paper clip into an "S" shape. Insert one end into the stem end of a washed and stem-removed cherry until you reach the pit. Then, gently twist and lift the paperclip to fish out the pit.
Piping Tip Method:
PROS: Sturdy and usually only pushes out the pit.
CONS: Messy and requires that you have metal piping tips.
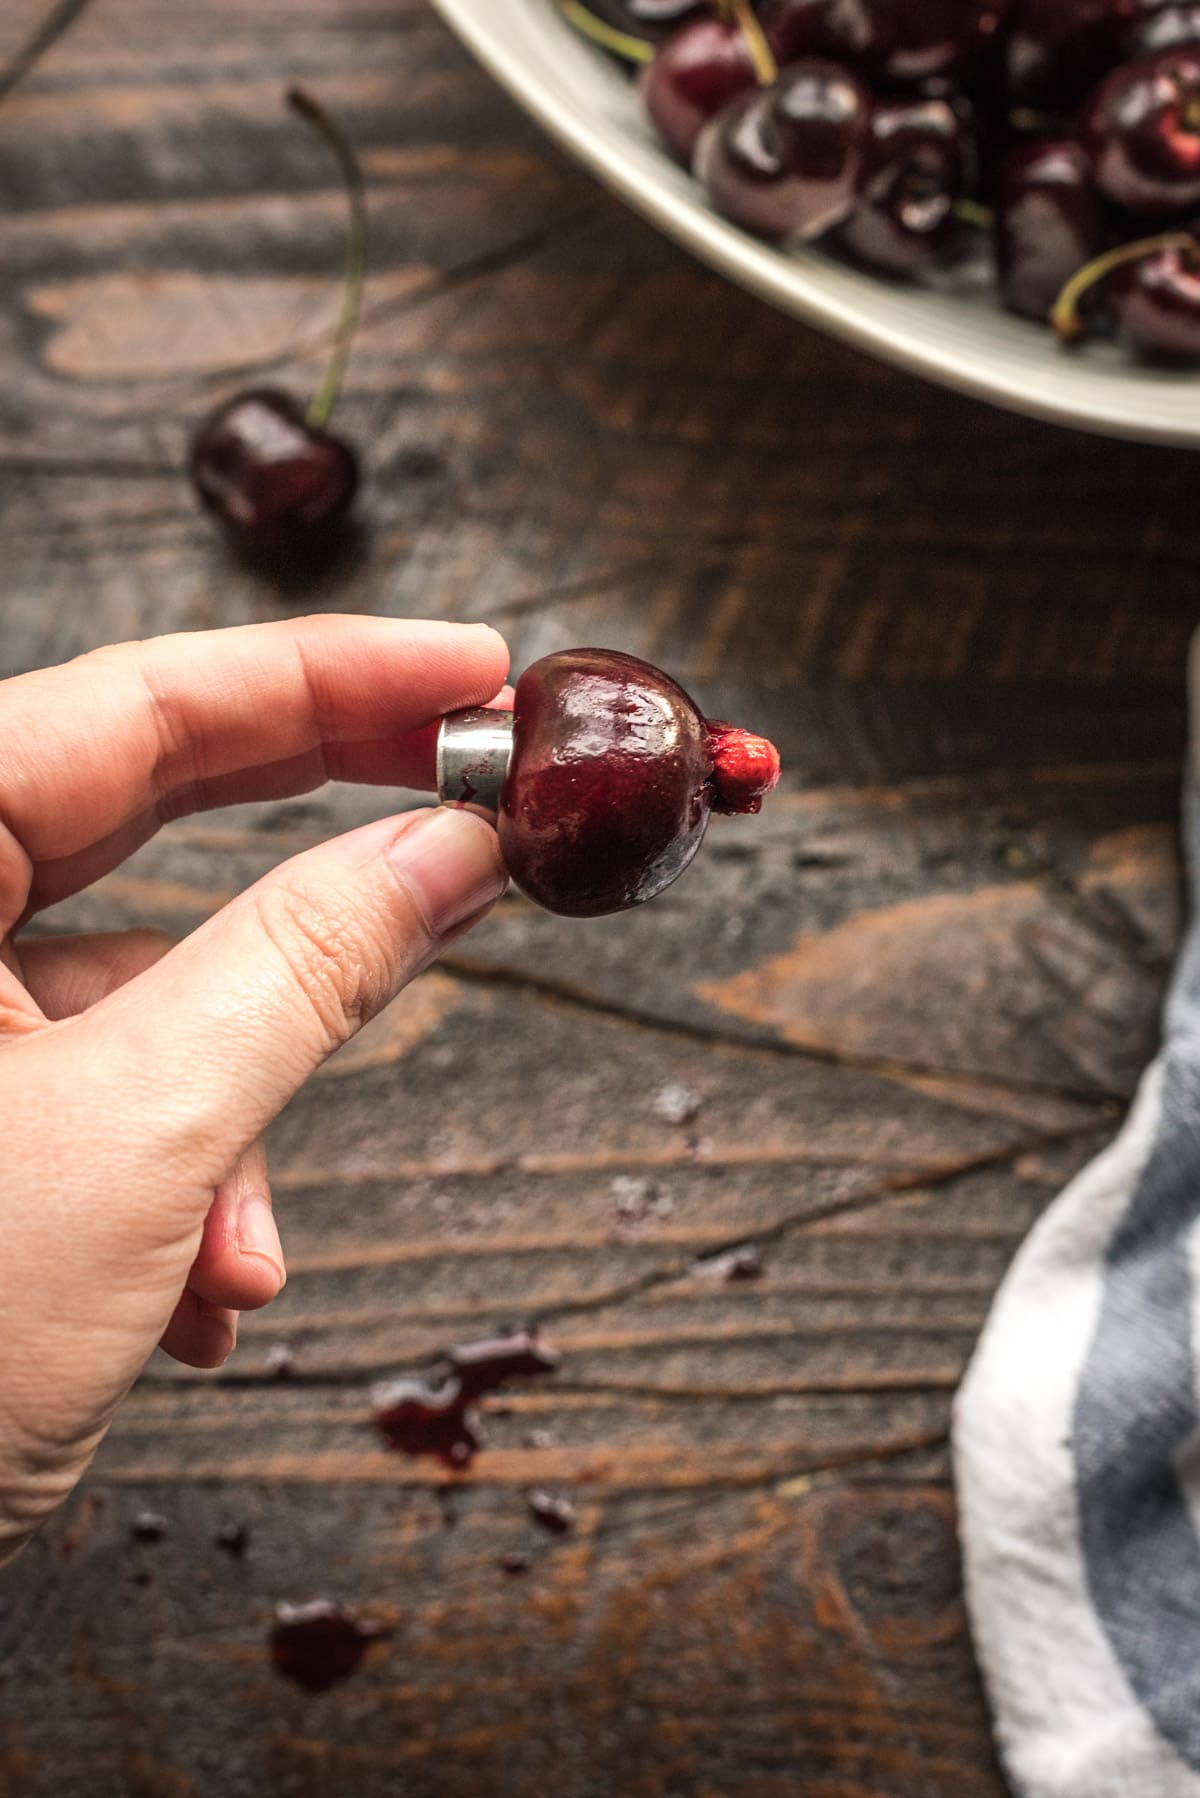
If you're dealing with large quantities of cherries, this is a good option because it's relatively quick and reliable. That being said, it does make a mess, and sometimes can tear apart your cherries.
To do it, insert the skinny side of a pastry tip into the stem end of the cherry until you feel it touch the pit. Apply gentle pressure to the cherry until the pit pops out through the opposite end.
Cherry Recipes
Now that you have perfectly pitted cherries, let's explore how you can use them in various recipes:
- Baked Goods: Pitted cherries are perfect for incorporating into pies, tarts, muffins, and cakes. Use them as a filling for cherry turnovers or add them to your favorite fruit bread recipe for a burst of flavor.
- Other Desserts: Create delicious cherry desserts like cherry crumbles, cobblers, or cherry compote to serve over ice cream. You can also make cherry sauces and coulis to drizzle over cheesecakes or panna cotta.
- Salads: Add pitted cherries to salads for a pop of sweetness and vibrant color. They pair beautifully with fresh greens, goat cheese, and toasted nuts. Try them in a spinach salad with balsamic vinaigrette, or a summer fruit salad.
- Beverages: Use pitted cherries to make refreshing cherry lemonade, cherry smoothies, or cherry-infused water. They are also fantastic for creating cherry cocktails like cherry mojitos or cherry margaritas. I especially love this Charred Cherry Whiskey Lemonade!
- Preserves: Make homemade cherry preserves or jam by cooking pitted cherries with sugar and lemon juice. Preserve them in jars to enjoy their goodness throughout the year.
And of course there are thousands of additional ways to use them. Feel free to drop your favorites below, and happy pitting!




Sarah Duncan says
Here is how I pit cherries. I use a single old time potatoe peeler. I put the cherry in my left hand &turn the peeler upside down. Insert it with bent tip to reach far enough down to curve around & pull the pit straight up out of the cherry. The cherry is left whole. I've pitted 18 pounds of cherries of jam & preserves . The peeler is about $1.oo. Yum!