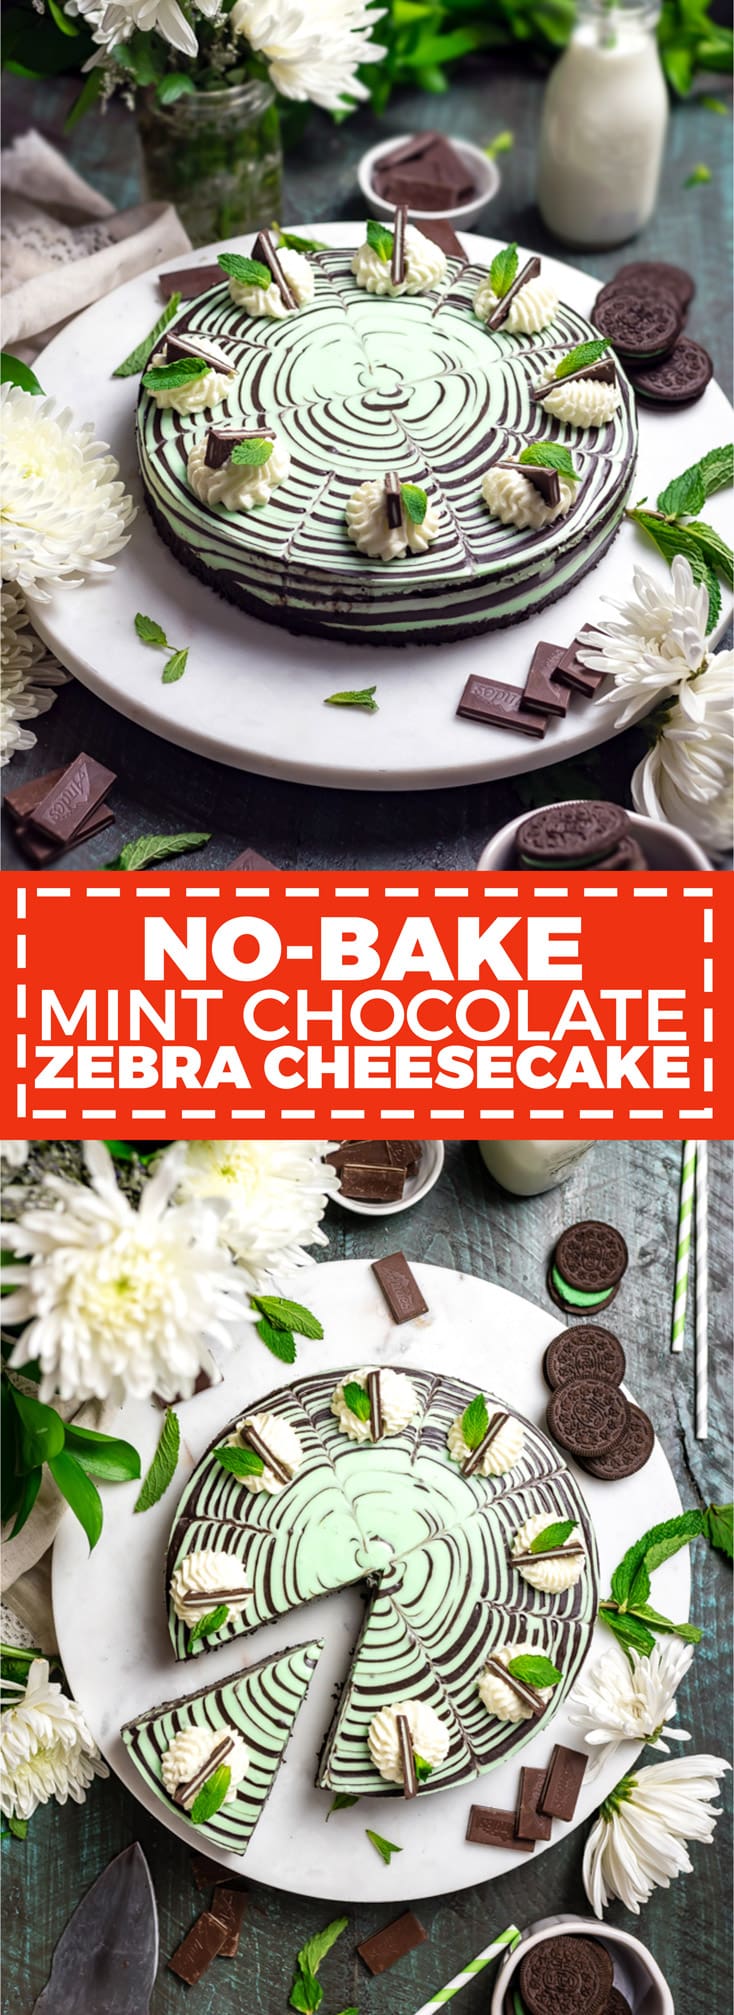
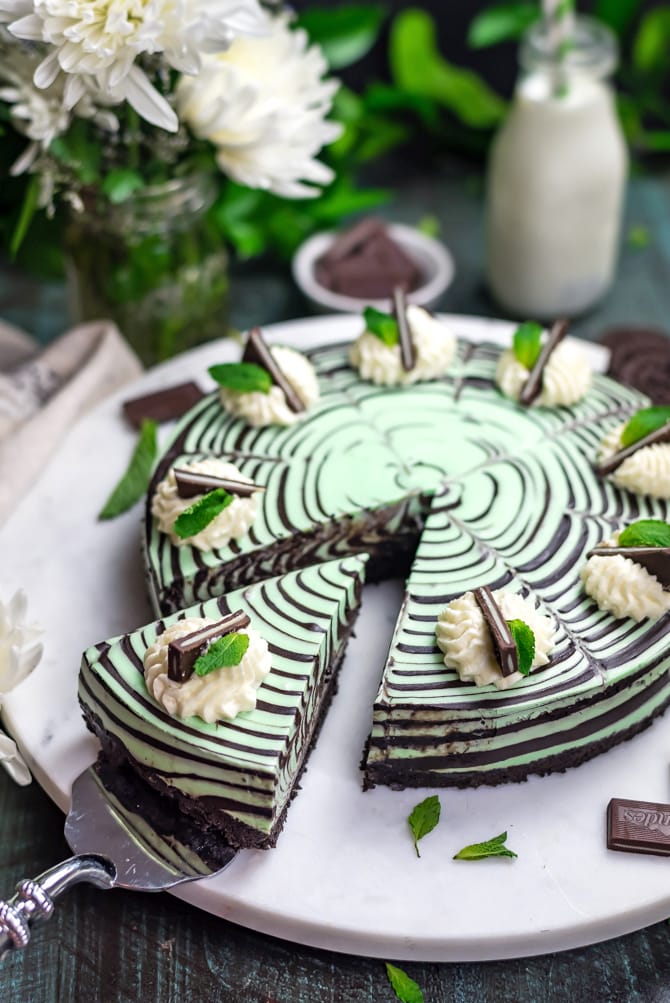
This No-Bake Mint Chocolate Zebra Cheesecake is just as delicious as it is hypnotically stunning. Be warned: It's rich, chocolaty, spiked with plenty of mint, silky smooth, and a total ruiner of self-control.
This one goes out to all my fellow mint chocolate chip ice cream lovers, thin mint fanatics, and shamrock shake drinkers.
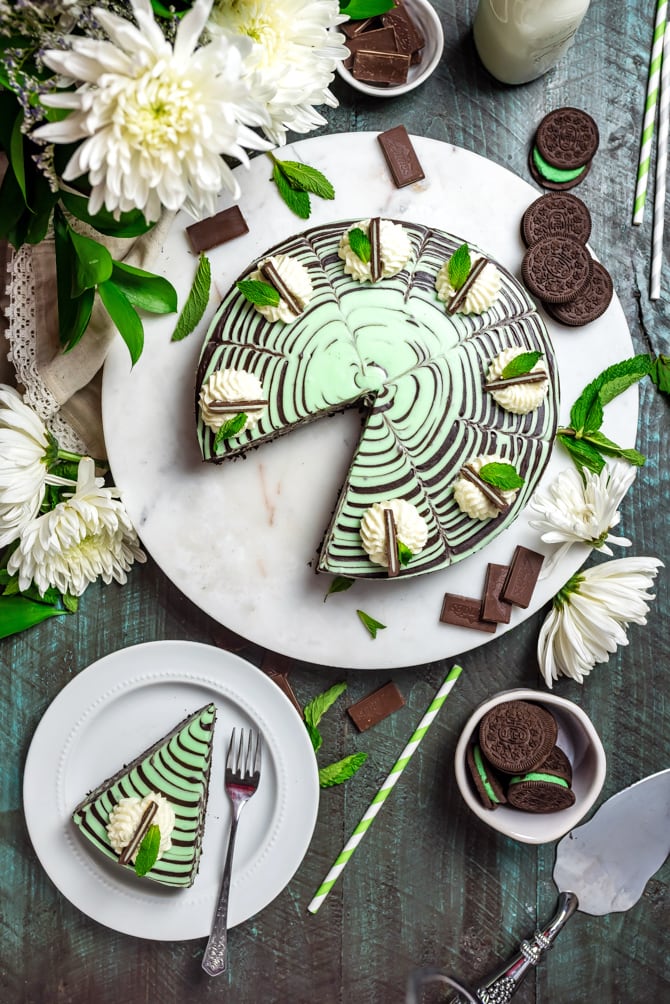
It's the ultimate MC (that's mint chocolate) dessert. Yes, you can quote me on that. The base is made of crushed mint oreos and melted butter, and the creamy filling from alternating layers of mint and chocolate cheesecake batters. Despite the fact that it's no-bake --which means it takes less time and is practically fool-proof-- it's impressively flavorful and just as nice to look at.
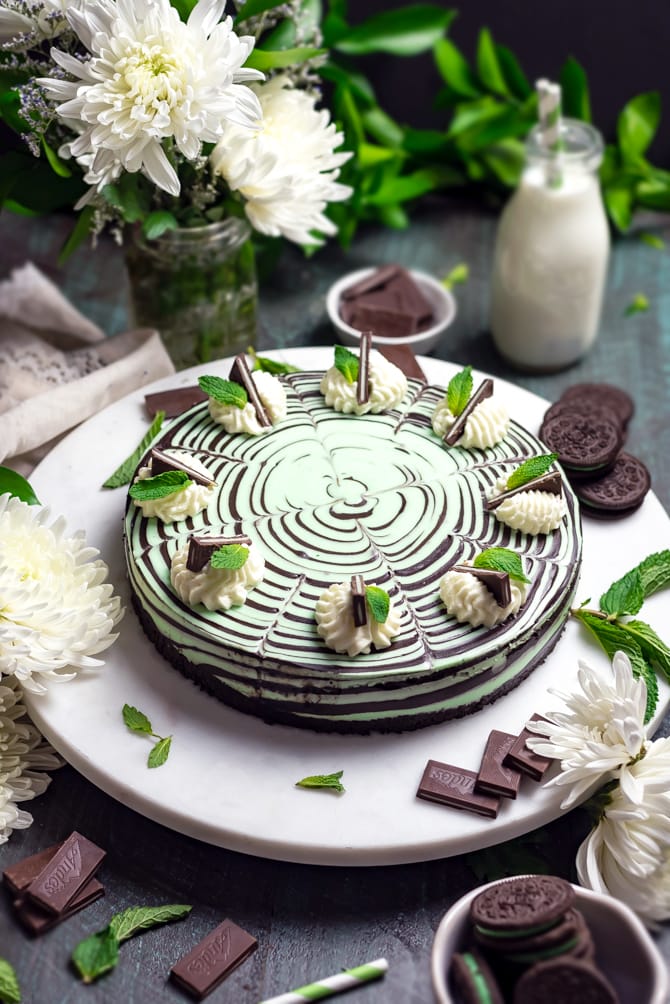
I mean, really, look at that. I don't want to pat myself on the back too much here but I basically ran around the house for the whole day after making this No-Bake Mint Chocolate Zebra Cheesecake repeating some version of "I'm so happy with this cheesecake" ad nauseam, so there's not much modesty left to protect here. I'm proud. I said it.

START WITH THE PERFECT NO-BAKE OREO CRUST
The first step in making a good cheesecake (or pie of any sort) is nailing the crust. Sometimes that means making a dough from scratch, chilling it, rolling it out, fitting it, crimping it, and baking it. (In other words, sometimes, it's a lot of work!) But that's not the case here.
For this recipe, we don't even have to bake the crust. All we have to do is throw some whole oreos in the food processor, add in melted butter, press that mixture into a greased or nonstick 9-inch springform pan, and chill until solid while we take care of the filling. If you don't have a food processor, you can always put the oreos into a large plastic sealable bag and then smash them up with something sturdy like a rolling pin or can.
The great thing about using whole oreos is that the flavor of the sandwich cream winds up in the crust, and it also aids in holding everything together. You don't have to worry about your crust crumbling apart, which is usually a big worry of mine when making no-bake cheesecakes!
Personally, I like to use the mint oreos for this recipe because it adds-- surprise, surprise-- more mint flavor. However, regular oreos will also work fine. Just keep in mind, you may need to increase the amount of mint extract in the recipe if you decide to go that route.
HOW TO MAKE A NO-BAKE CHEESECAKE FILLING
If you're a little hesitant about the idea of a no-bake cheesecake, I don't blame you. It seems a little weird to make a dessert that doesn't ever see the inside of an oven, right? However, no-bake cheesecakes are exponentially easier to make-- you don't have to worry about all of the things that could go wrong with a baked cheesecake. That's right, no more stressing about whether or not you're beating the batter too much, or if you've baked the cheesecake long enough yet, or if the cheesecake will wind up with a big ol' crack down the middle.
Instead, what you wind up with is a smooth, silky, light but velvety-textured cheesecake filling every time.
So how do you make it? Well, pretty similarly to how you normally make any other cheesecake. No-bake cheesecake fillings typically use most of the same ingredients as their baked counterparts, but they don't use eggs to bind them. Instead, many recipes rely on cream, whipped to stiff peaks, to keep everything thick and allow it to set in the fridge. In my experience, gelatin provides a superior hold, so you don't have to worry about your cheesecake being runny or starting to weep at room temperature.
Simply sprinkle the gelatin over cold water to dissolve it, then microwave for about 30 seconds, or until fully melted. Then you can add it along with the rest of the cheesecake filling ingredients and it will work its magic as it sits in the refrigerator!
HOW TO MAKE ZEBRA PATTERNED CHEESECAKE
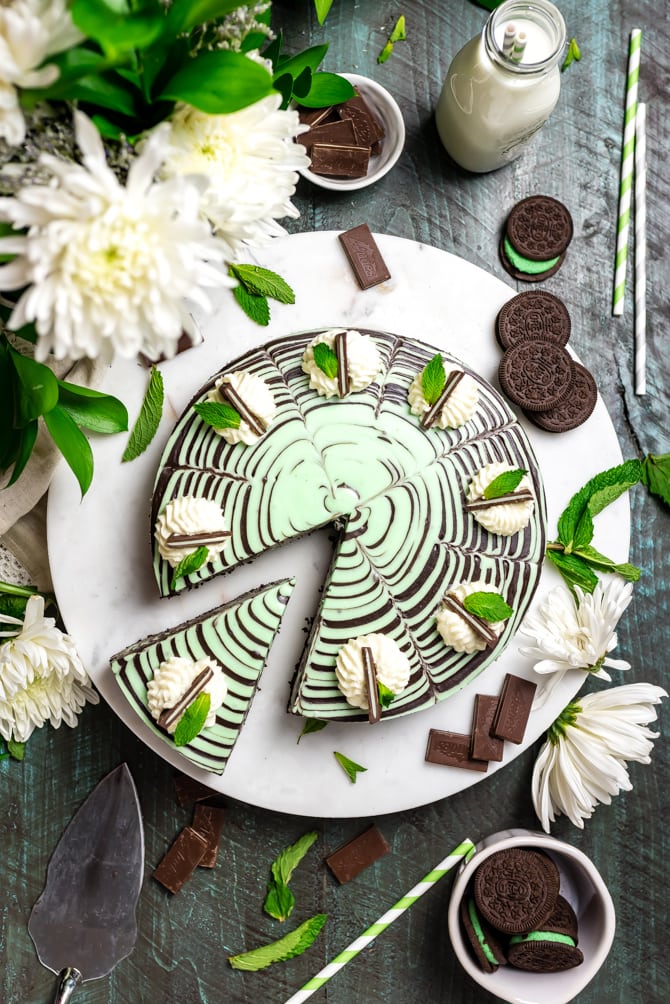
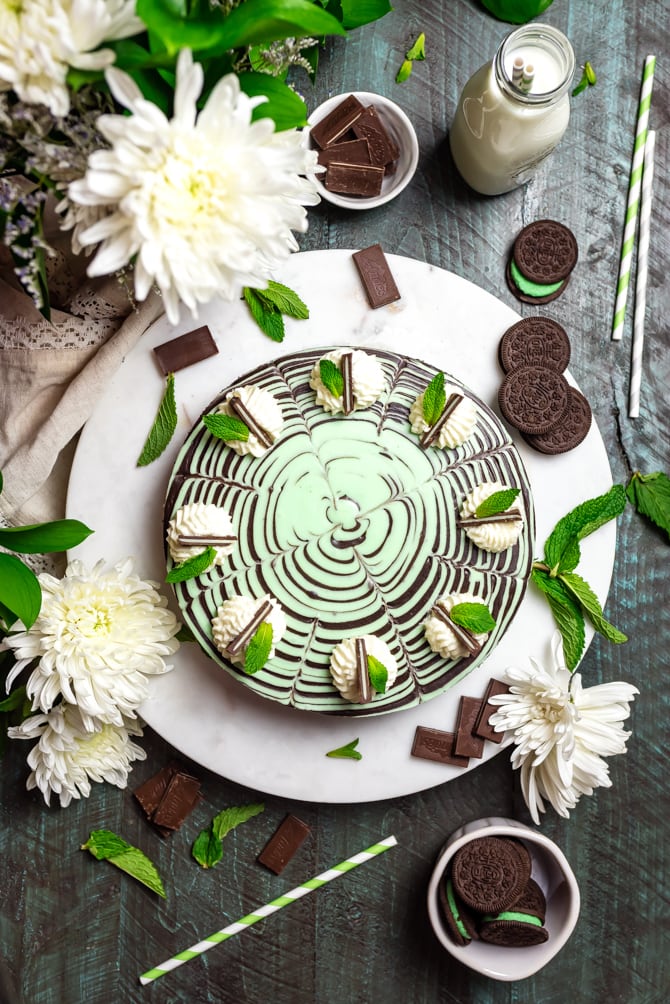
This type of cheesecake is often called a "Zebra Cheesecake" due to the striped appearance of its slices. The zebra look is an effect that may seem difficult, but is actually incredibly simple to pull off.
First, divide your cheesecake batter into two separate bowls. Whisk dark cocoa powder into one of the bowls until well-combined for the chocolate / deep brown layer. Then, add mint extract and food coloring to the other bowl and whisk for the mint / green layer of your No-Bake Mint Chocolate Zebra Cheesecake.
Then, grab your ice cream scoops. Yes, I said scoops! I like to use two separate ice cream scoops for this so there's no cross-contamination (or no need to clean between every scoop) but if you only have one, you can use ladles or spoons instead. Anyway, grab 'em, and spoon the batter into the center of the chilled crust, one spoonful at a time, alternating between the green batter and the brown batter. Put the spoonful of batter in the center every time, and it will push the previous batter outward to create rings of color and flavor. It will take a while, but eventually the whole pan will be full and all of the batter used up.
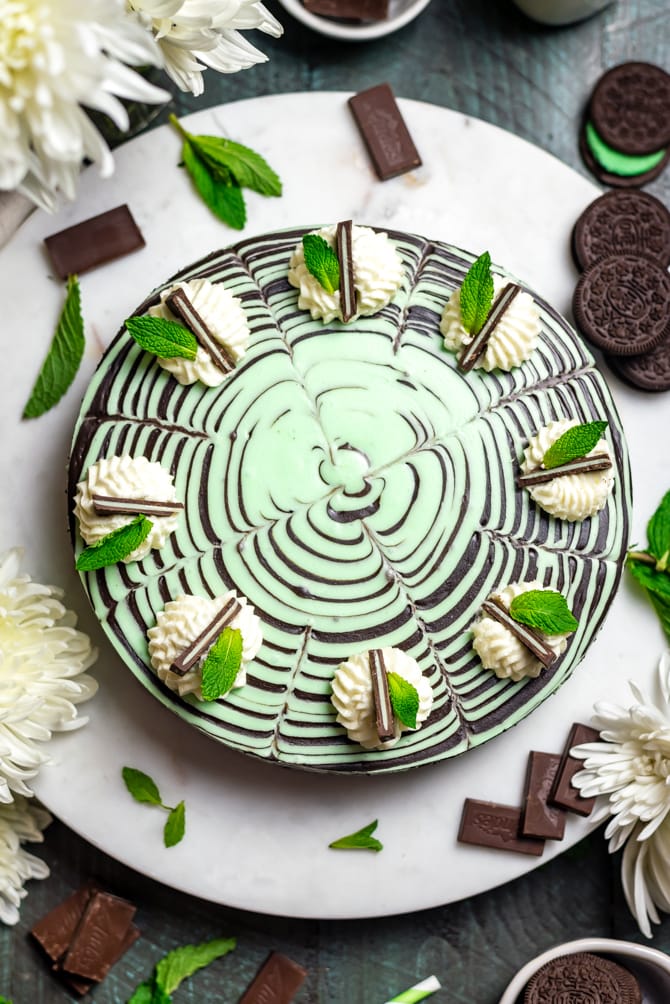
At that point, you can leave the design as-is, or you can use a skewer or toothpick to swirl the very top of the batter for a different design. I chose to draw lines in mine which helped mark where to cut even slices (and also sort of made the center look like a four leaf clover)!
WATCH THE NO-BAKE MINT CHOCOLATE ZEBRA CHEESECAKE VIDEO
No-Bake Mint Chocolate Zebra Cheesecake
- Total Time: 1 hour
- Yield: 8 large slices 1x
Ingredients
For the No-Bake Oreo Crust:
- 25 mint oreos
- 4 tablespoons unsalted butter, melted
For the Filling:
- 2 packets (2 ½ teaspoons each) unflavored gelatin powder
- 6 tablespoons cold water
- 2 (8-ounce) packages cream cheese, softened at room temperature*
- 2 cups heavy cream
- ½ cup milk
- 1 cup granulated sugar
- ¼ cup dark cocoa powder
- 1-2 teaspoons mint extract
- Green food coloring, as needed, optional
- Stabilized whipped cream, andes mints, and fresh mint leaves, to garnish, optional
Instructions
- In the bowl of a food processor, process the oreos to fine crumbs. Add the melted butter and continue to process until moist and well-combined.
- Dump the oreo crumb mixture into a 9-inch springform pan. Press the crumbs smoothly and evenly into the bottom of the pan using the back of a spoon. Refrigerate while you make the filling.
- In a small bowl, sprinkle the gelatin powder over 6 tablespoons of cold water. Allow to sit until dissolved and re-solidified. Microwave for 30 seconds, or until liquidy.
- In a large bowl, combine the cream cheese, heavy cream, milk, granulated sugar, and gelatin mixture and mix until smooth. Pour about half of the batter into a separate bowl.
- Add the dark cocoa powder to one of the bowls and whisk until well-combined and dark brown. Add the mint extract and green food coloring, as needed, to the other bowl and whisk until well-combined and light green. (The batter should be relatively thin and smooth. See note!)
- Use an ice cream scoop to dollop scoopfuls of the batter in the center of the oreo crust, alternating between brown and green. Use a knife, skewer, or toothpick to drag through the rings and create designs in the very top of the cheesecake, if desired.
- Refrigerate until set, about 3 hours, then garnish with whipped cream, andes mints and fresh mint leaves, if desired.
Notes
It's very important that the cream cheese isn't cold, or it will cause clumping. If your mixtures do clump or if it's too thick to spread, don't worry. Microwave the mixtures briefly until just slightly warm (not hot!) and then continue to mix. The clumps will liquify and the resulting batter will be thin enough to work with!
- Prep Time: 1 hour


Julie says
Do you have tips for making this into a baked cheesecake? I like baked cheesecakes better! I can't wait to try it!!
Deb says
Not only does this cheesecake look delicious, it also looks so cool!! I can't wait to make it for my grandsons! I know they'll love it being the chocolate mint lovers they are! Thanks for sharing the recipe, Morgan!
Deb says
Not only does this cheesecake look delicious, it also looks so cool!! I can't wait to make it for my grandsons! I know they'll love it being the chocolate mint lovers they are! Thanks for sharing the recipe, Morgan!
Diane says
Made this tonight. My batter was very thick, not as runny as yours. I added milk to each bowl so I would get the layered look. Now waiting to try it tomorrow! Do you think I let the geletin sit too long? Was concerned about adding the warm geletin to the mixture
Melinda Helscher says
I made this and had the same issue as Diane. My batter was more like a brownie batter. Very thick. I too added milk to thin the mixture and didn't add enough. My batter was still to thick and didn't spread. I ended up swirling and it's all just brown now. I'm sure it will taste good but adding two cups of milk (one to each bowl of batter still didn't thin enough.
John says
I'm about to make this ahead of time for a work gathering, and I wanted to know of anyone's experience with how well this stores. I'll have access to a refrigerator, but if I had wanted to make it over the weekend beforehand, for example, could I have gotten away with freezing it until the night before, then thawing in the fridge? I'm worried about what that would do to the texture. Otherwise, how long does this "last" in the fridge?
Thanks for any pointers!
Derilynn MacFarlane says
I too had very thick batter and lumpy from the gelatin. I put the gelatin in after I whipped the cream cheese a little then add the whipping cream, milk sugar. I keep whipping it thinking the chunks was small bits or cream cheese but then i tasted a lump and realize it was the gelatin. There for after all this being to thick it didn't layer. I ended up just swirling the mixture and I guess we'll see the outcome. Being family I will ask them to over look the lumps of gelatin. 🙂 Merry Christmas
Barbara says
This cake was a big hit at our New Year's Eve dinner party last night.
A few tips I would add -
1st.. Cream the cheese before adding all the liquids, and add the liquid gradually. I ended up having to drain all the liquid to get the cheese creamed so I didn't end up with a volcano of cream and milk all over the kitchen.
2nd. I would add the liquid gelatin at the end of all the liquids rather than with them.
3rd. If the batter isn't running well enough to spread out with ea additional scoop, microwave the mixture until it is runny enough to create the swirls properly. (maybe 30 sec. or more - but keep checking the consistency).
As other comments mention, the batter was too thick to spread out in the pan properly. I ended up adding more milk, but realised it was as much the gelatin that was "setting up" too soon after I creamed the cheese for a long time to ensure it was nicely creamed (in my Mom's vintage Westinghouse mix-master- works like a charm)
I didn't want to dilute the mixture too much, so ended up microwaving each bowl for a minute or so thinking it would liquefy the gelatin again - which I believe it did. The problem was that I already had a big lump in the middle of the pan which created a "dam" so the runnier mixture still wouldn't spread out.. I smoothed that out a bit as best I could and realised the bottom wouldn't matter and as long as the top half looked OK I'd be good - and it was!
Having made this once now, I expect I'll be able to work faster for the next try.
And if you can't get the mint oreos, the regular ones work fine too -- just may be a bit less mintier, but the extract could be added to the crumb crust as well.
Mine was minty enough.
Coco says
The zebra pattern can’t possibly be made with this recipe as written. It’s very thick, and I even added the gelatin last, right before the cocoa and mint flavors. I didn’t have two cups of cream either, only one and a half, so I made up the difference with milk, which would have made it thinner, if anything. I didn’t try microwaving it to thin it as one person suggested. That may work but it wasn’t part of the directions and I too started before realizing the impossibility or making the zebra pattern with this. That pattern requires a much thinner cake type of batter. It tastes okay, like any other no bake cheesecake, but the most I could do pattern-wise was swirl it. I wouldn’t bother again.
Lia says
I made this recipe and encountered the same problem alot of people had. I made two cheesecakes so I just doubled everything. I followed the directions completely and added the gelatin last as well. I didnt try microwaving the batter because I didnt know if that would effect the ingredients causing it not to set. I just slapped the scoops of batter into my springform really hard, so it spread out ass much as possible. I made this for other people so I'm not going to eat it but hopefully it sets and doesn't have a strange consistency. I would love to know the recipe for the pictures of that cheesecake. This recipe is definitely not going to look like the photos.
Morgan says
Hi Lia! Please do microwave if you have issues with the batter consistency! It won't cause it not to set, it will help thin and help prevent lumpiness if that's the issue you're having. I wrote this in the notes section of the recipe instructions but I can see that it's not really pointed out very well-- I will go back and try to better emphasize. I hope your cheesecake turns out delicious regardless, and thank you so much for the feedback!